Category Archives: Blog
Healthy Flapjacks
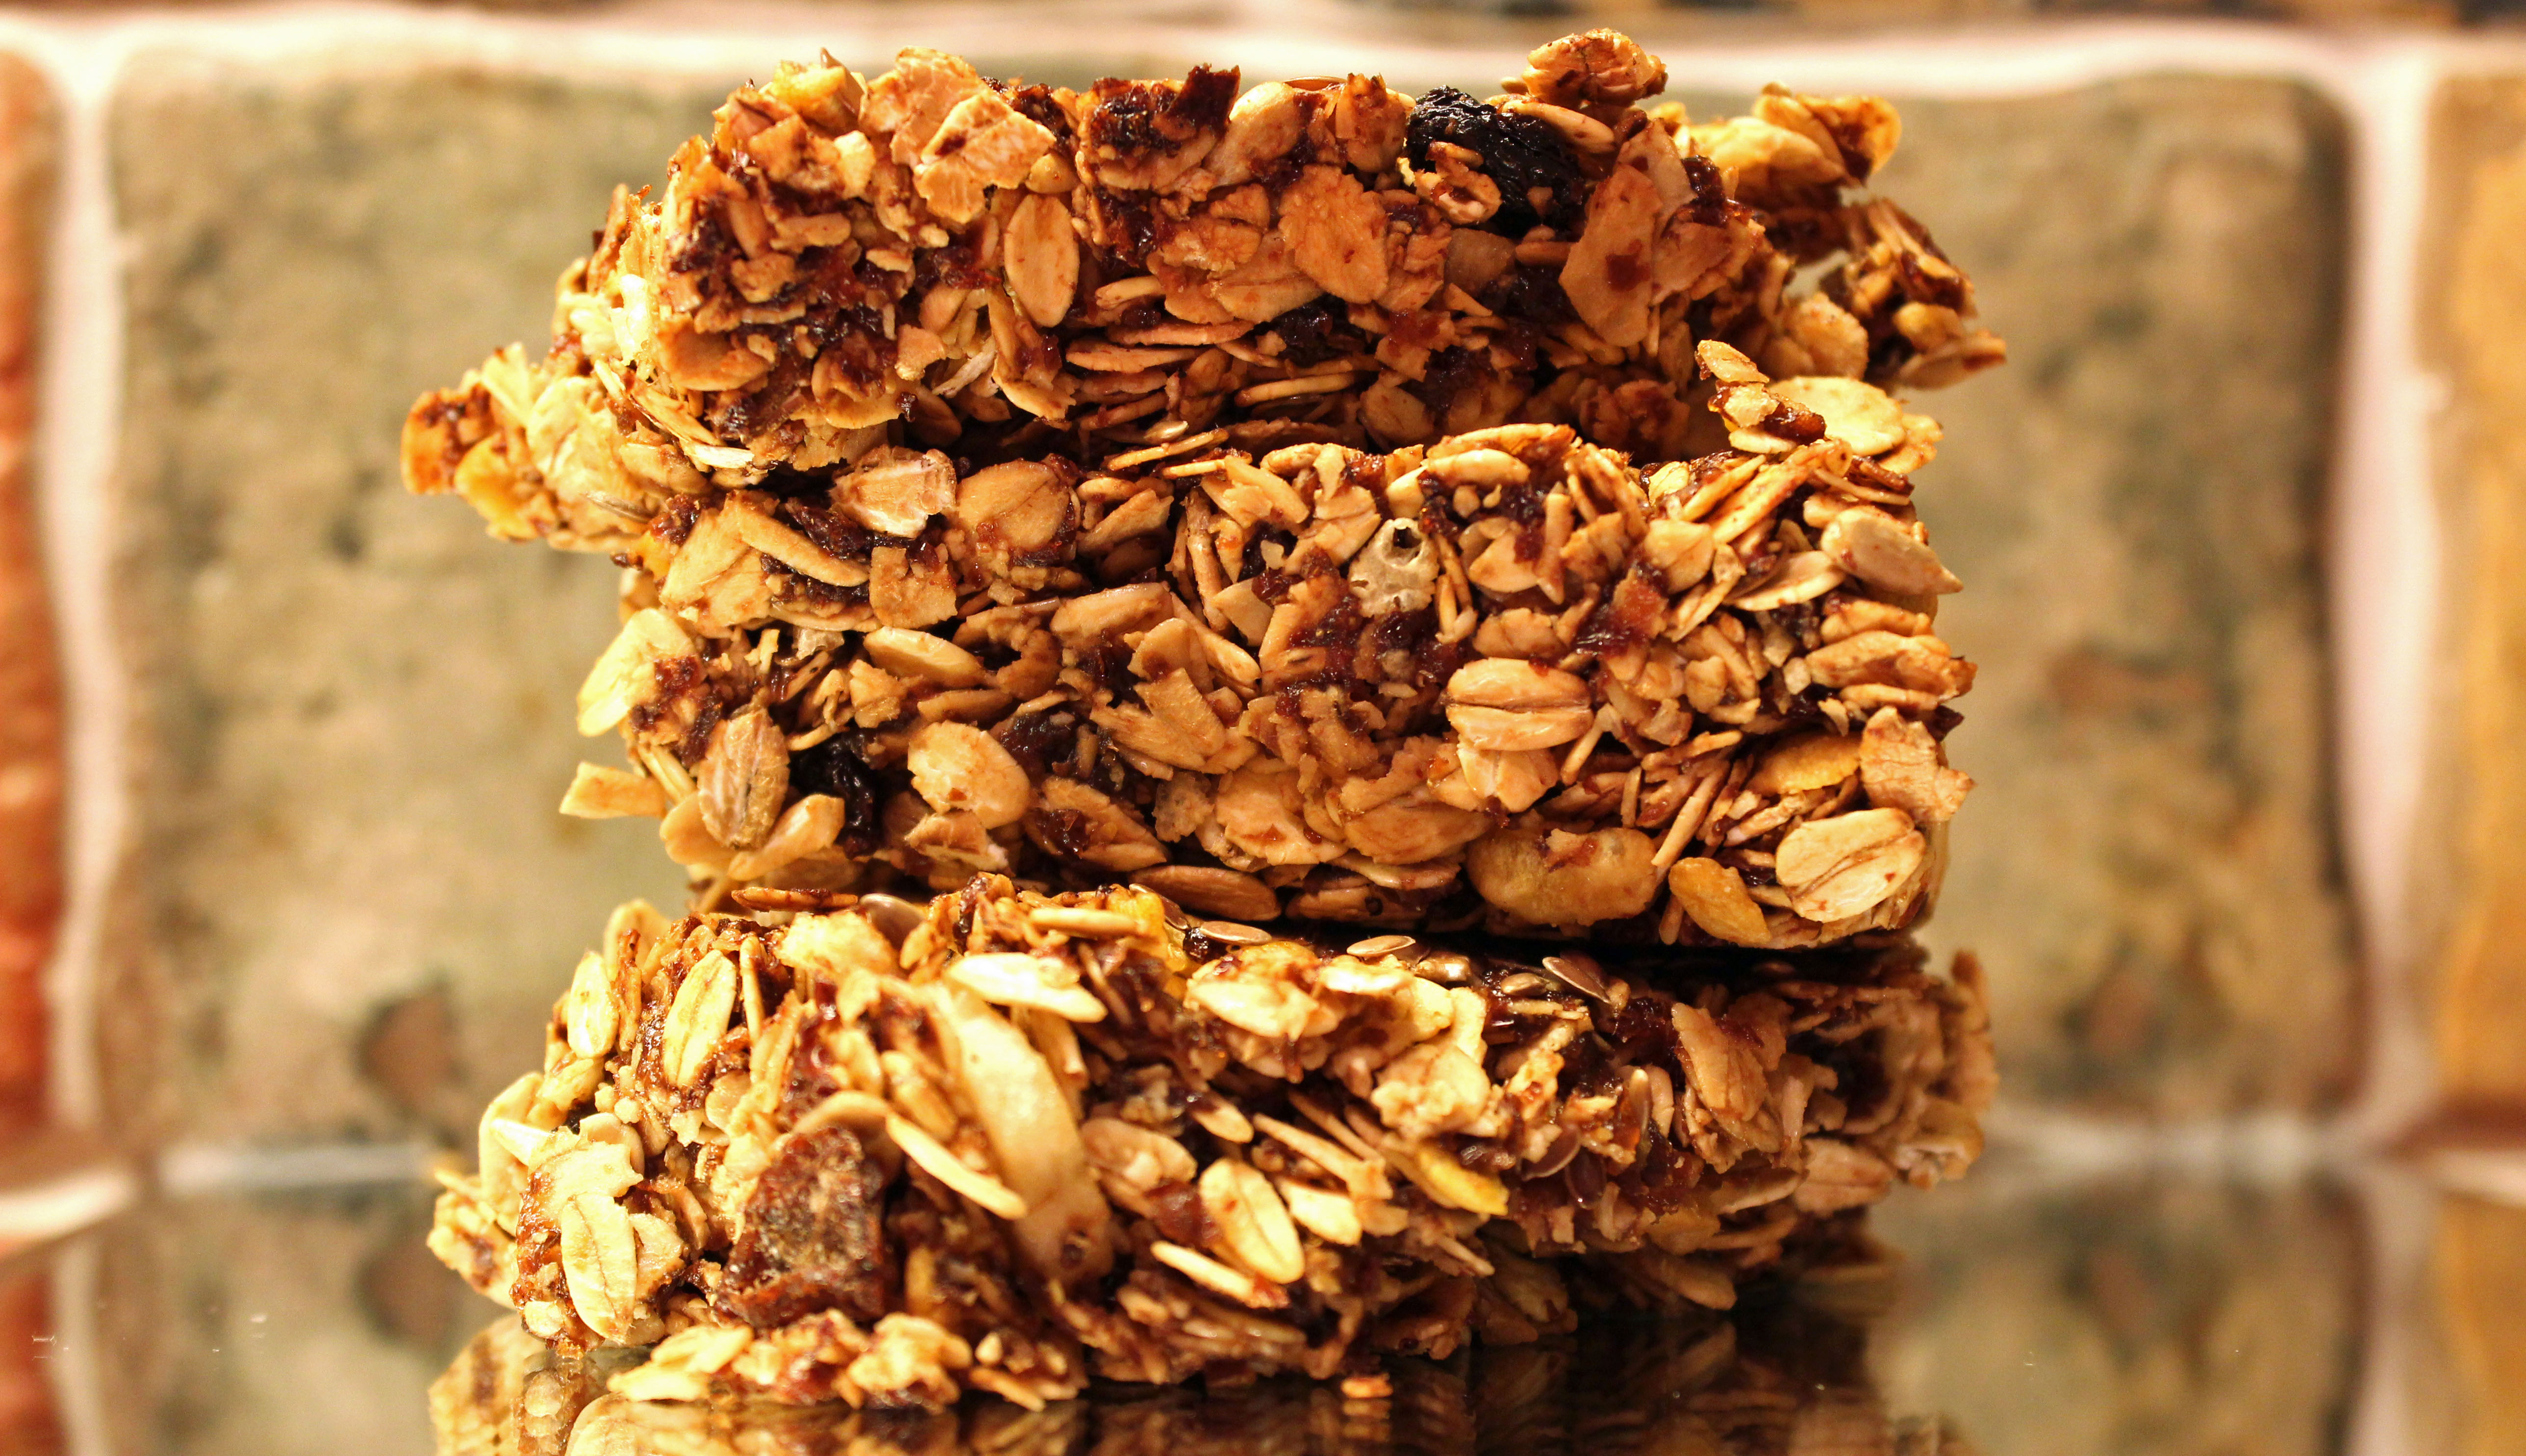 Healthy twist on traditional Flapjacks!
We have never made this recipe, in fact we weren’t quite sure how to make this to be honest. We had a request and we did some digging and after a few attempts we feel happy with the final result. We found out that this is a traditional Irish/British food so please if we’ve done this wrong let us know so that we can alter it to your liking 
The traditional recipe calls for syrup and a great amount of butter, so we switched that with raisins, dates and coconut oil and added some dried fruits and flax-seeds. While researching the healthier version of flapjacks we noticed some also add agave syrup for that special taste and texture, this is optional and tastes really nice. If you want to add syrup and butter to the recipe use unsalted butter (5 Tbsp) and Agave syrup (4 Tbsp) instead of golden syrup and stay healthy See tip below for this method and other tips.
Recipe:
- 1 Cup pitted Dates or Raisins
- 1/2 Ripe Banana
- 2-3 Tbsp Coconut Oil
- 2 Cups Oatmeal / Oats
- 1 Tbsp Flax-seeds
- 2-3 Tbsp Dried fruit or nuts of your choice (banana, cashew nuts, apricots, raisins, coconut flakes, etc.)
Step by Step:
- Preheat your own to 325F / 170C
- Drop your dates/raisins and banana in your food-processor and mix well, you might have to scrape down the sides a few times. Alternatively you can also add the oats for a smoother texture.
- Now scoop the mixture into a bowl and add all of the ingredients and stir it well until everything sticks together, you might have to add more coconut oil as you go along.
- Pour the mixture into baking sheet/dish spread well and lightly press down the top with a spatula making sure the surface is even.
- Bake in the oven for 15-20 minutes or until golden brown.
- Remove from oven and cut the flapjacks into squares or however desired and leave to cool in the baking sheet/dish until completely cooled.
- Store in airtight container, in room temperature or the fridge.
Alternative Method:
- Instead of using dates/raisins, banana and coconut oil, you can use butter and syrup.
- Use 5 Tbsp of unsalted butter and 4 Tbsp of Agave syrup.
- In a sauce pan melt the butter and agave syrup, then add all of your ingredients in the pan and stir well. Then continue the recipe how it is mentioned above.
Enjoy!
Healthy Bread Rolls
 So Healthy and so Delicious!
We love making bread, especially rye bread! It’s really healthy, packed with nutrients and keeps longer! We thought we’d share some health benefits of rye and fiber before we give you the recipe
Did you know:
- Rye bread satisfies longer than wheat
- Rye’s fiber promotes weight loss
- Rye lowers insulin respons
- Improves blood glucose profile
- Helps prevent gallstones
- Rye and other Whole grains substantially lowers type 2 diabetes risk
- Fiber fights diabetes and cardiovascular disease and promotes gastrointestinal health

Recipe:
- 3,3 Tbsp dry Yeast (50 g.)
- 2 Tbsp Butter
- 1 3/4 Cups finger warm Milk
- 1 tsp Salt
- 3 Cups Rye flour
- 1 1/3 Cups Whole wheat flour
- 1/2 Cup Flaxseeds
Tip: before you start, it’s best to use your stand mixer for this recipe.
1. Melt your butter, then add the milk to it and warm it up until the mix is finger warm (98.5 F/37 C) and add it to your mixing bowl along with the dry yeast.
2. Add your salt long with the the whole wheat, flax-seeds and 2 cups of rye flour. Gradually turn your speed up on your stand mixer and add some more of the flower until the dough doesn’t stick to the bowl anymore.
3. Knead the dough for an additional 2-3 minutes until smooth.
4. Get your kitchen sink ready with 1,5 inches of warm water. Wrap the bowl in plastic and place it in the sink.
5. Let the dough rise for about 40 minutes or until doubled in size.
6. Preheat over to 475 F (240 C)
6. Knead the pre-risen dough lightly together (2 minutes) and divide dough into 16 even portions. Roll each portion into a ball and place on a baking sheet lined with parchment paper. Spray or brush the rolls with lukewarm water before placing them in the oven.
7. Bake in the oven for 8-10 minutes on the middle shelf or until golden brown.
8. Straight from the oven set aside under a tea-towel for 5 minutes, this will make them softer.
Enjoy warm or at room temperature!
Tip: These are excellent to store in your freezer for a later date!
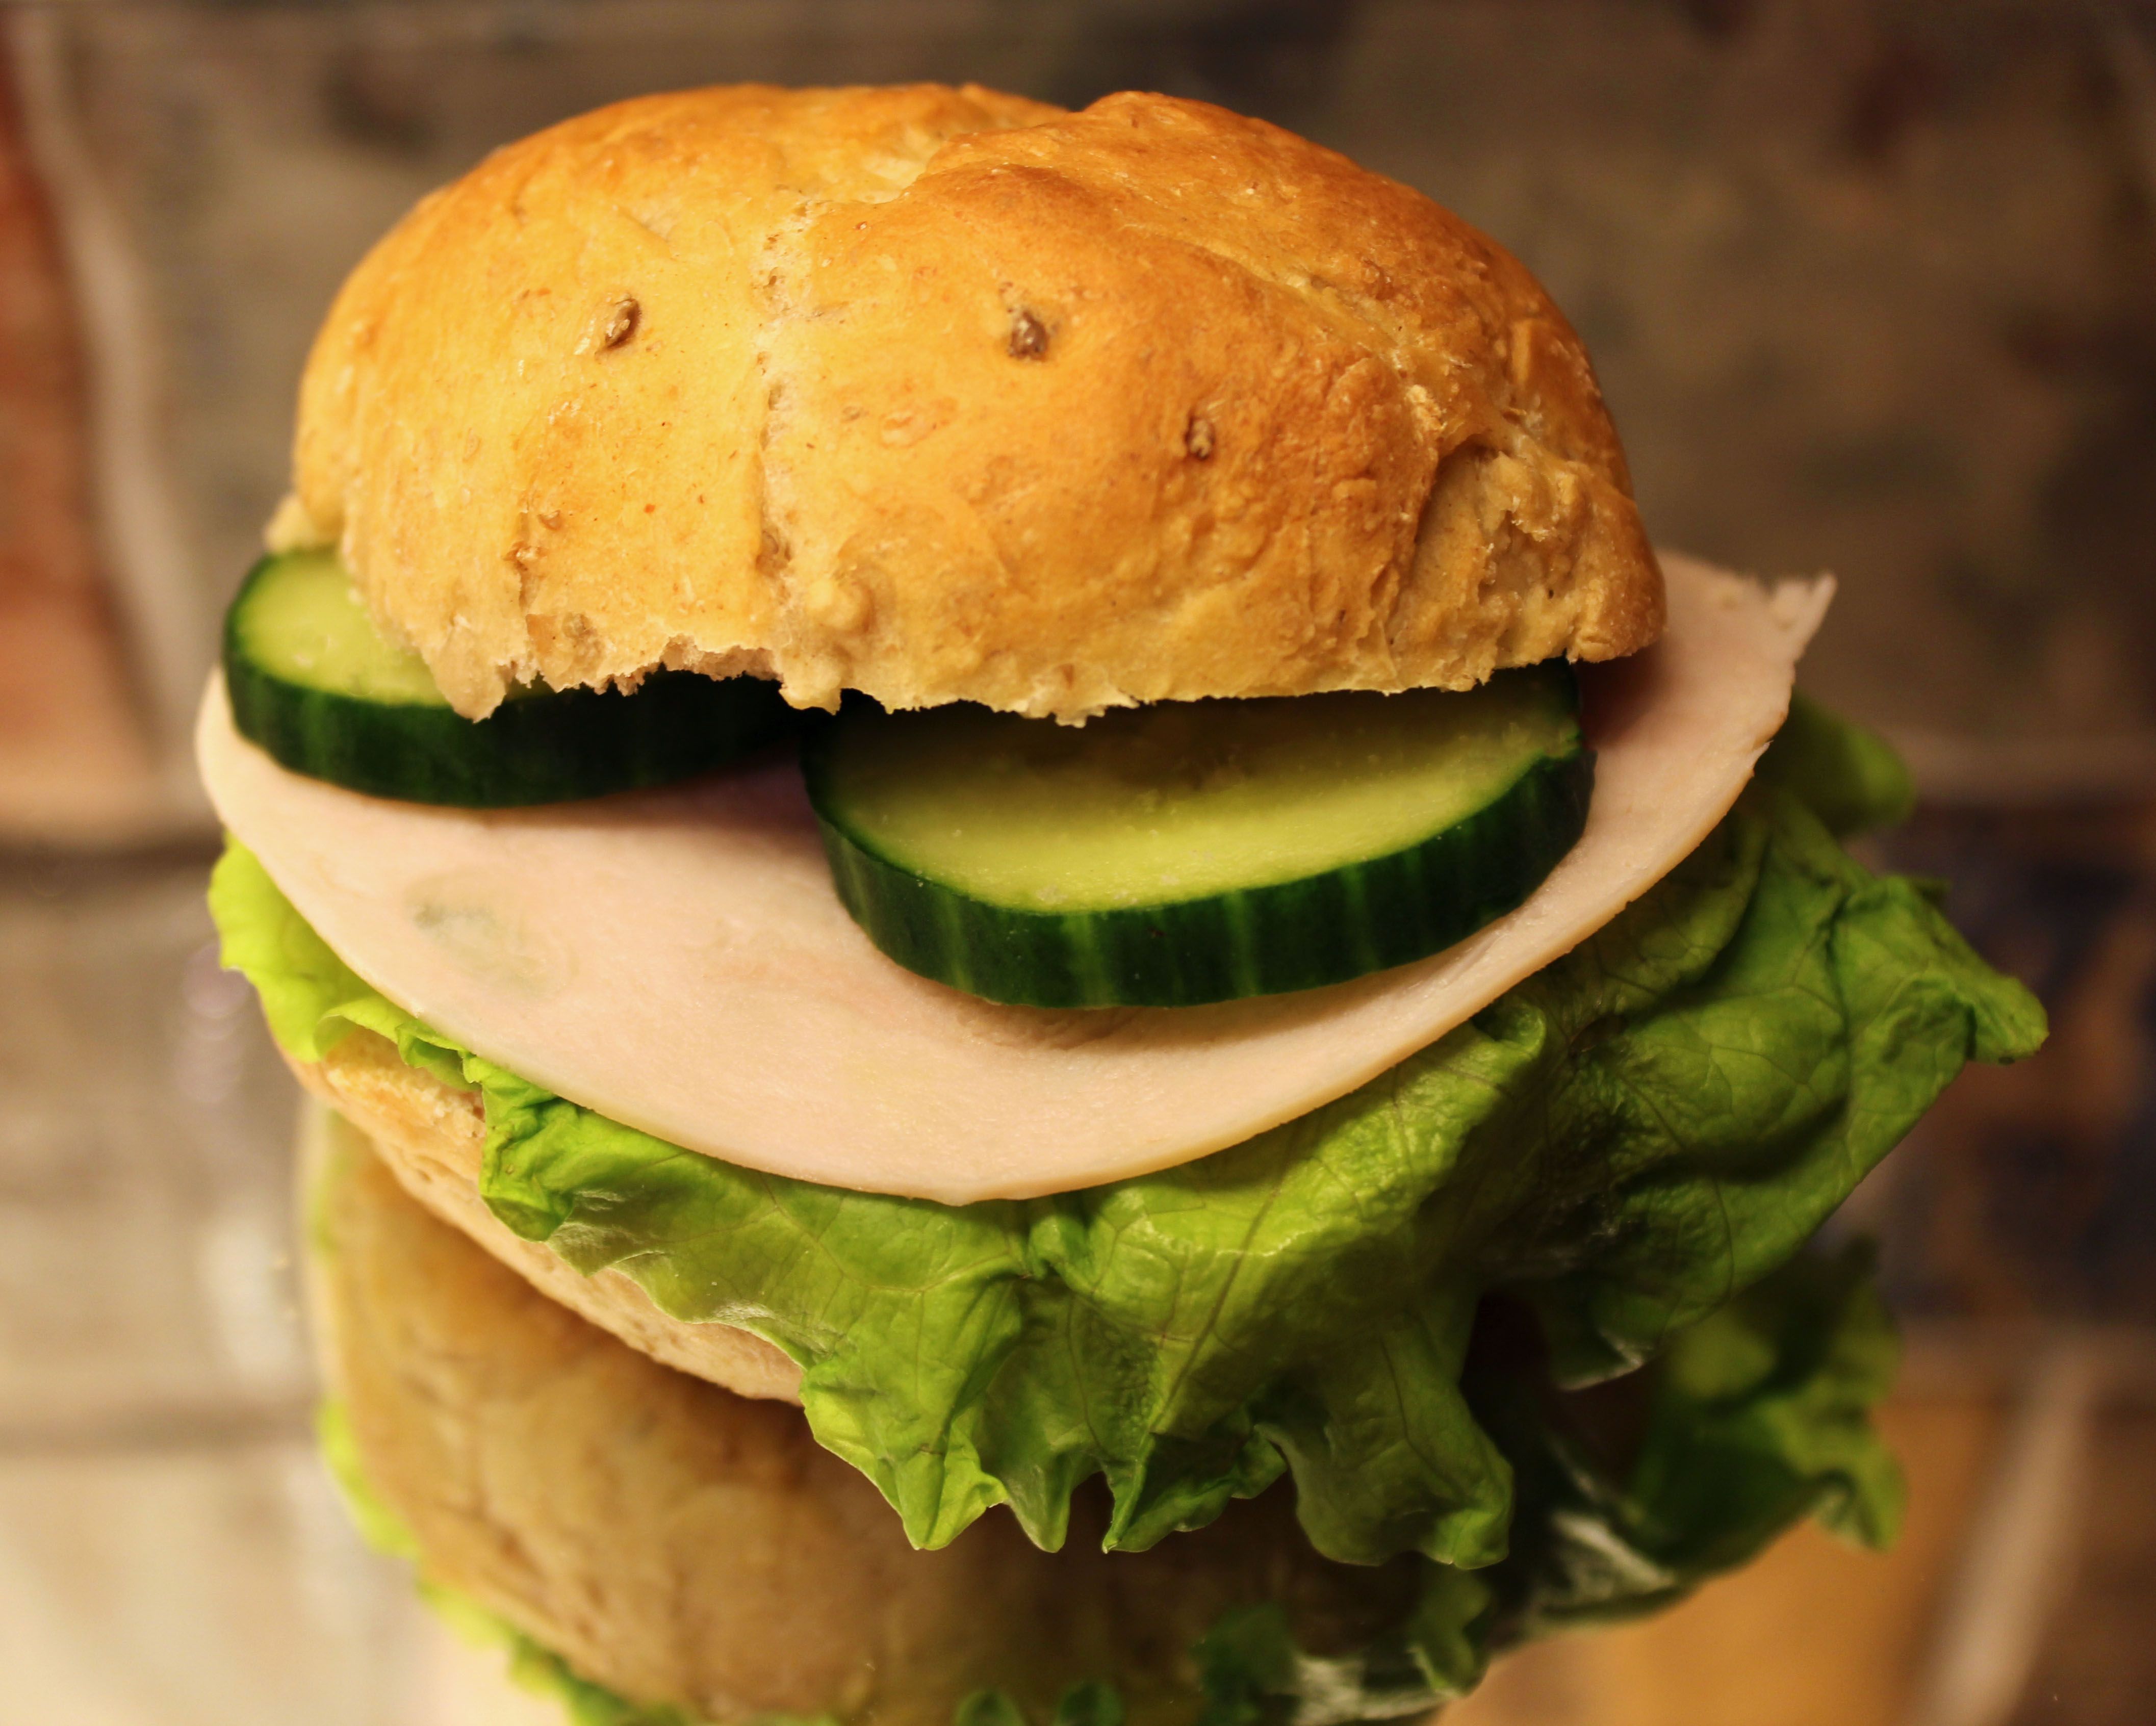
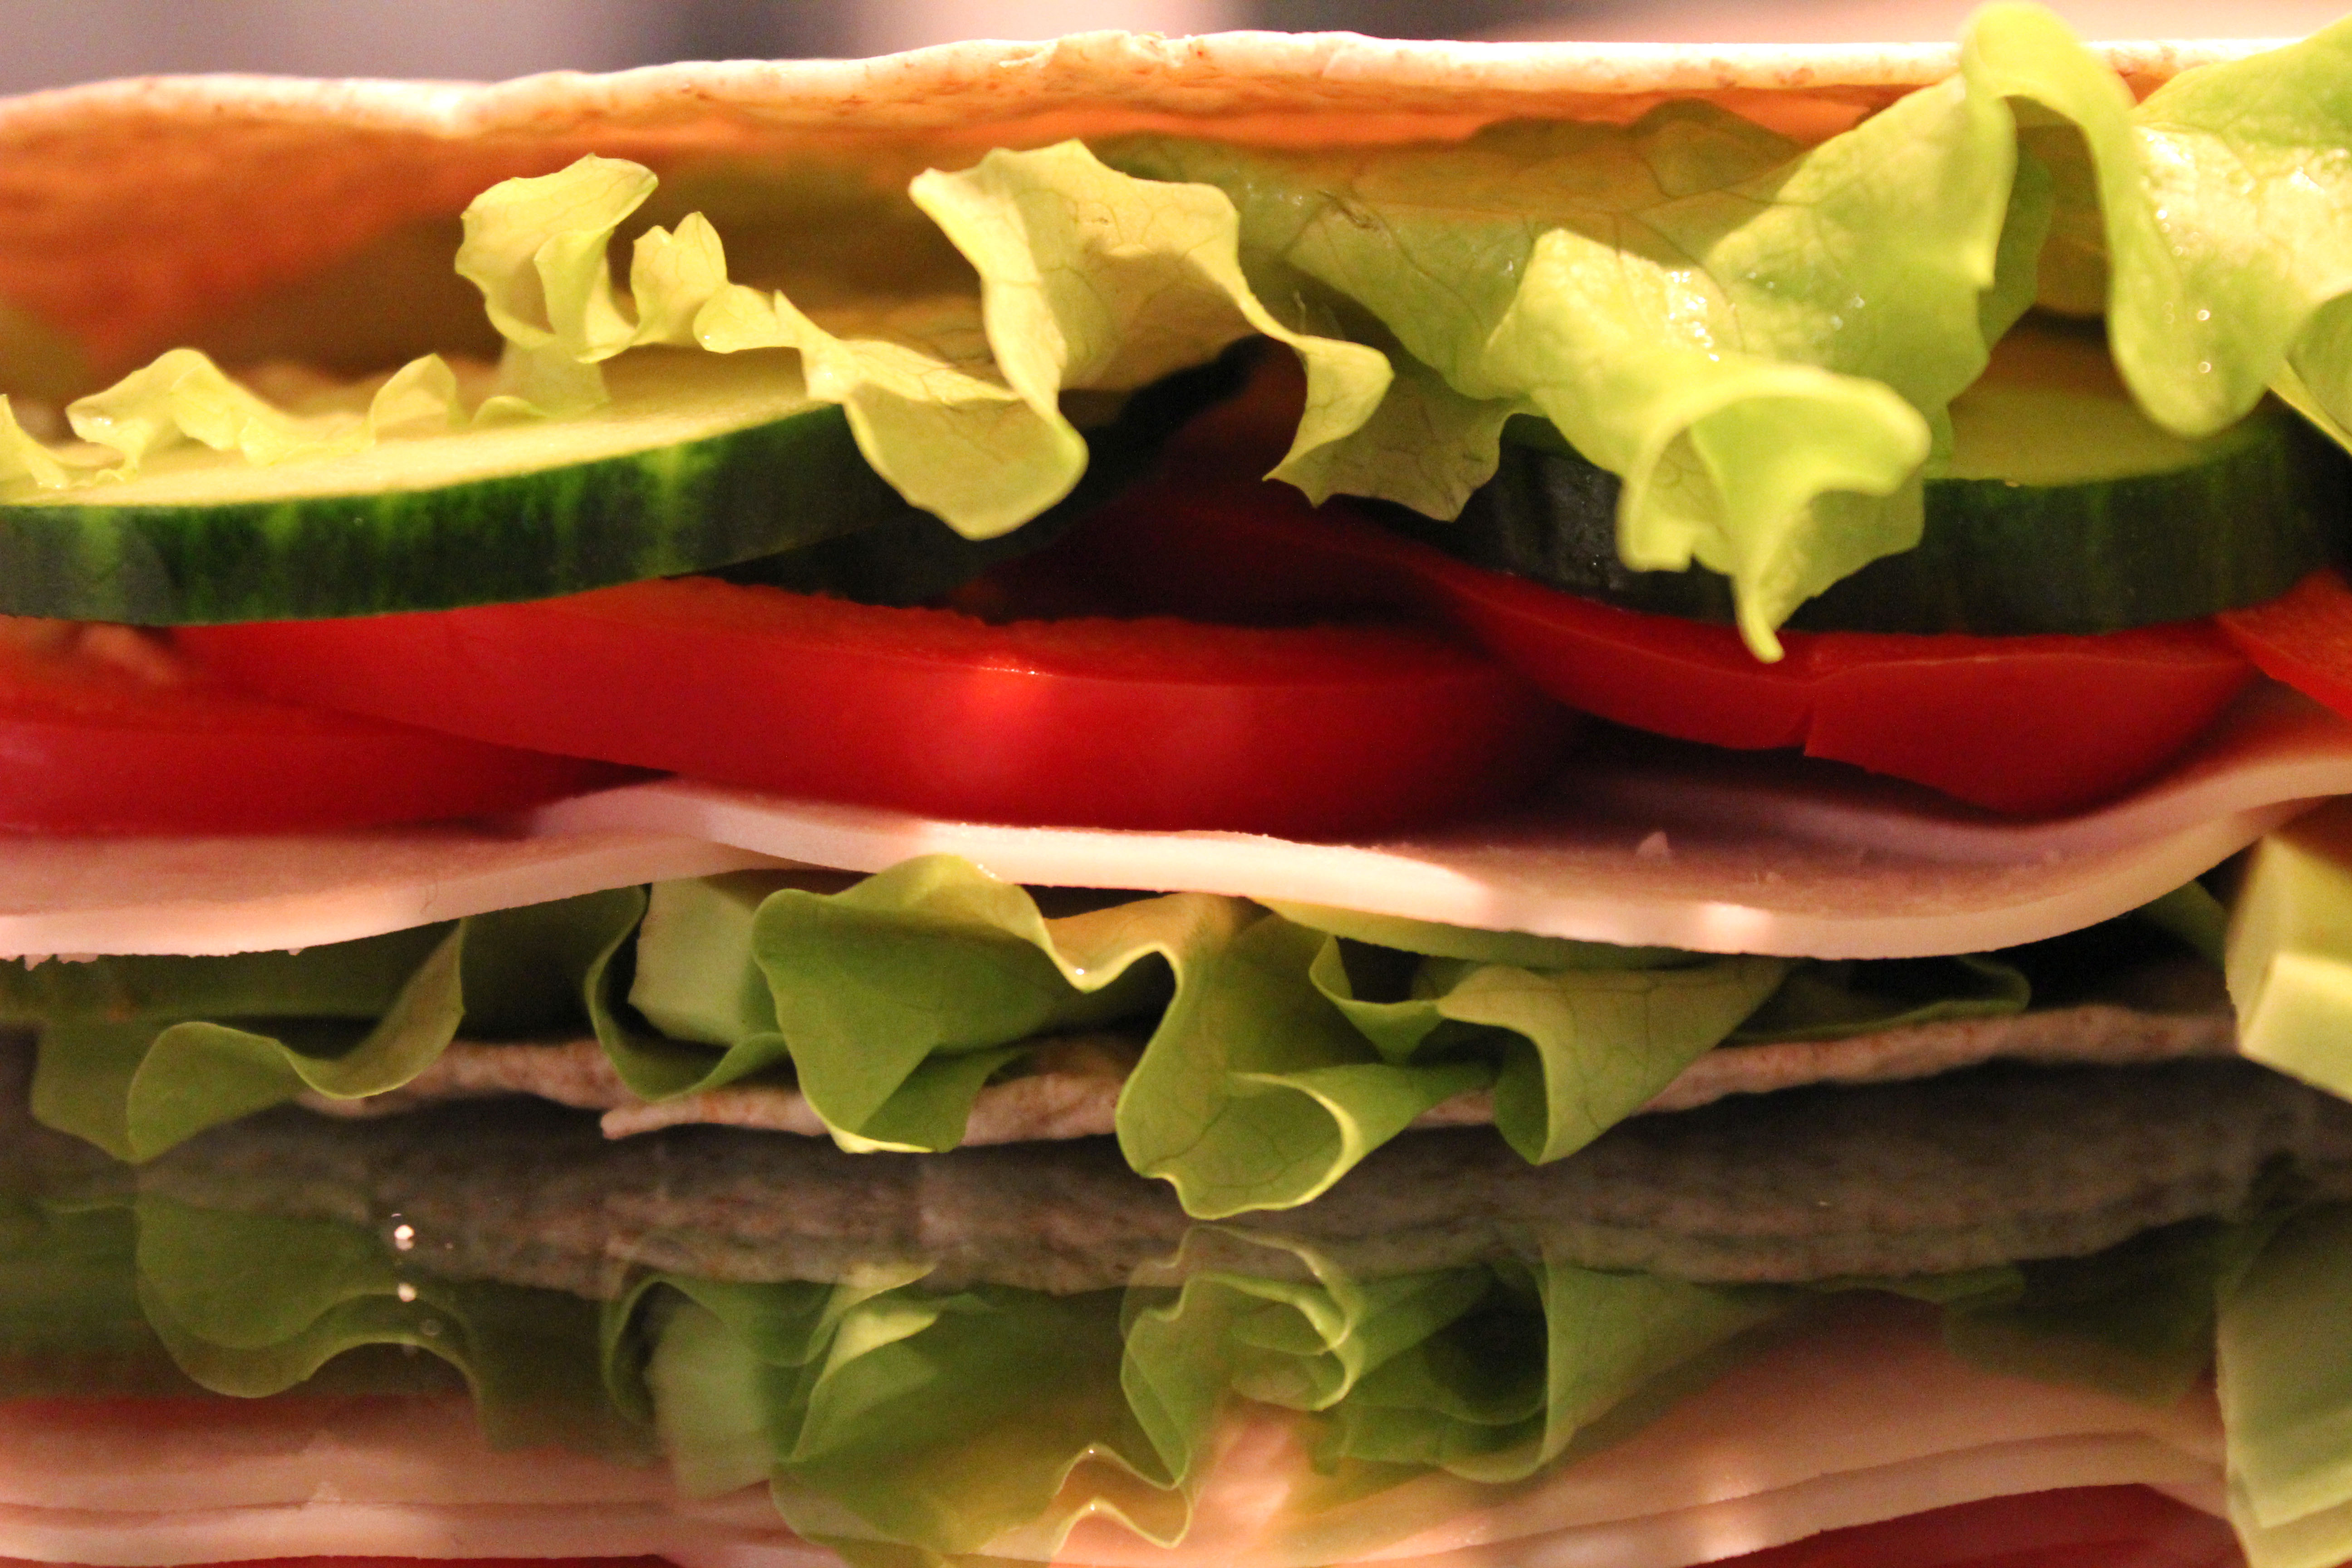
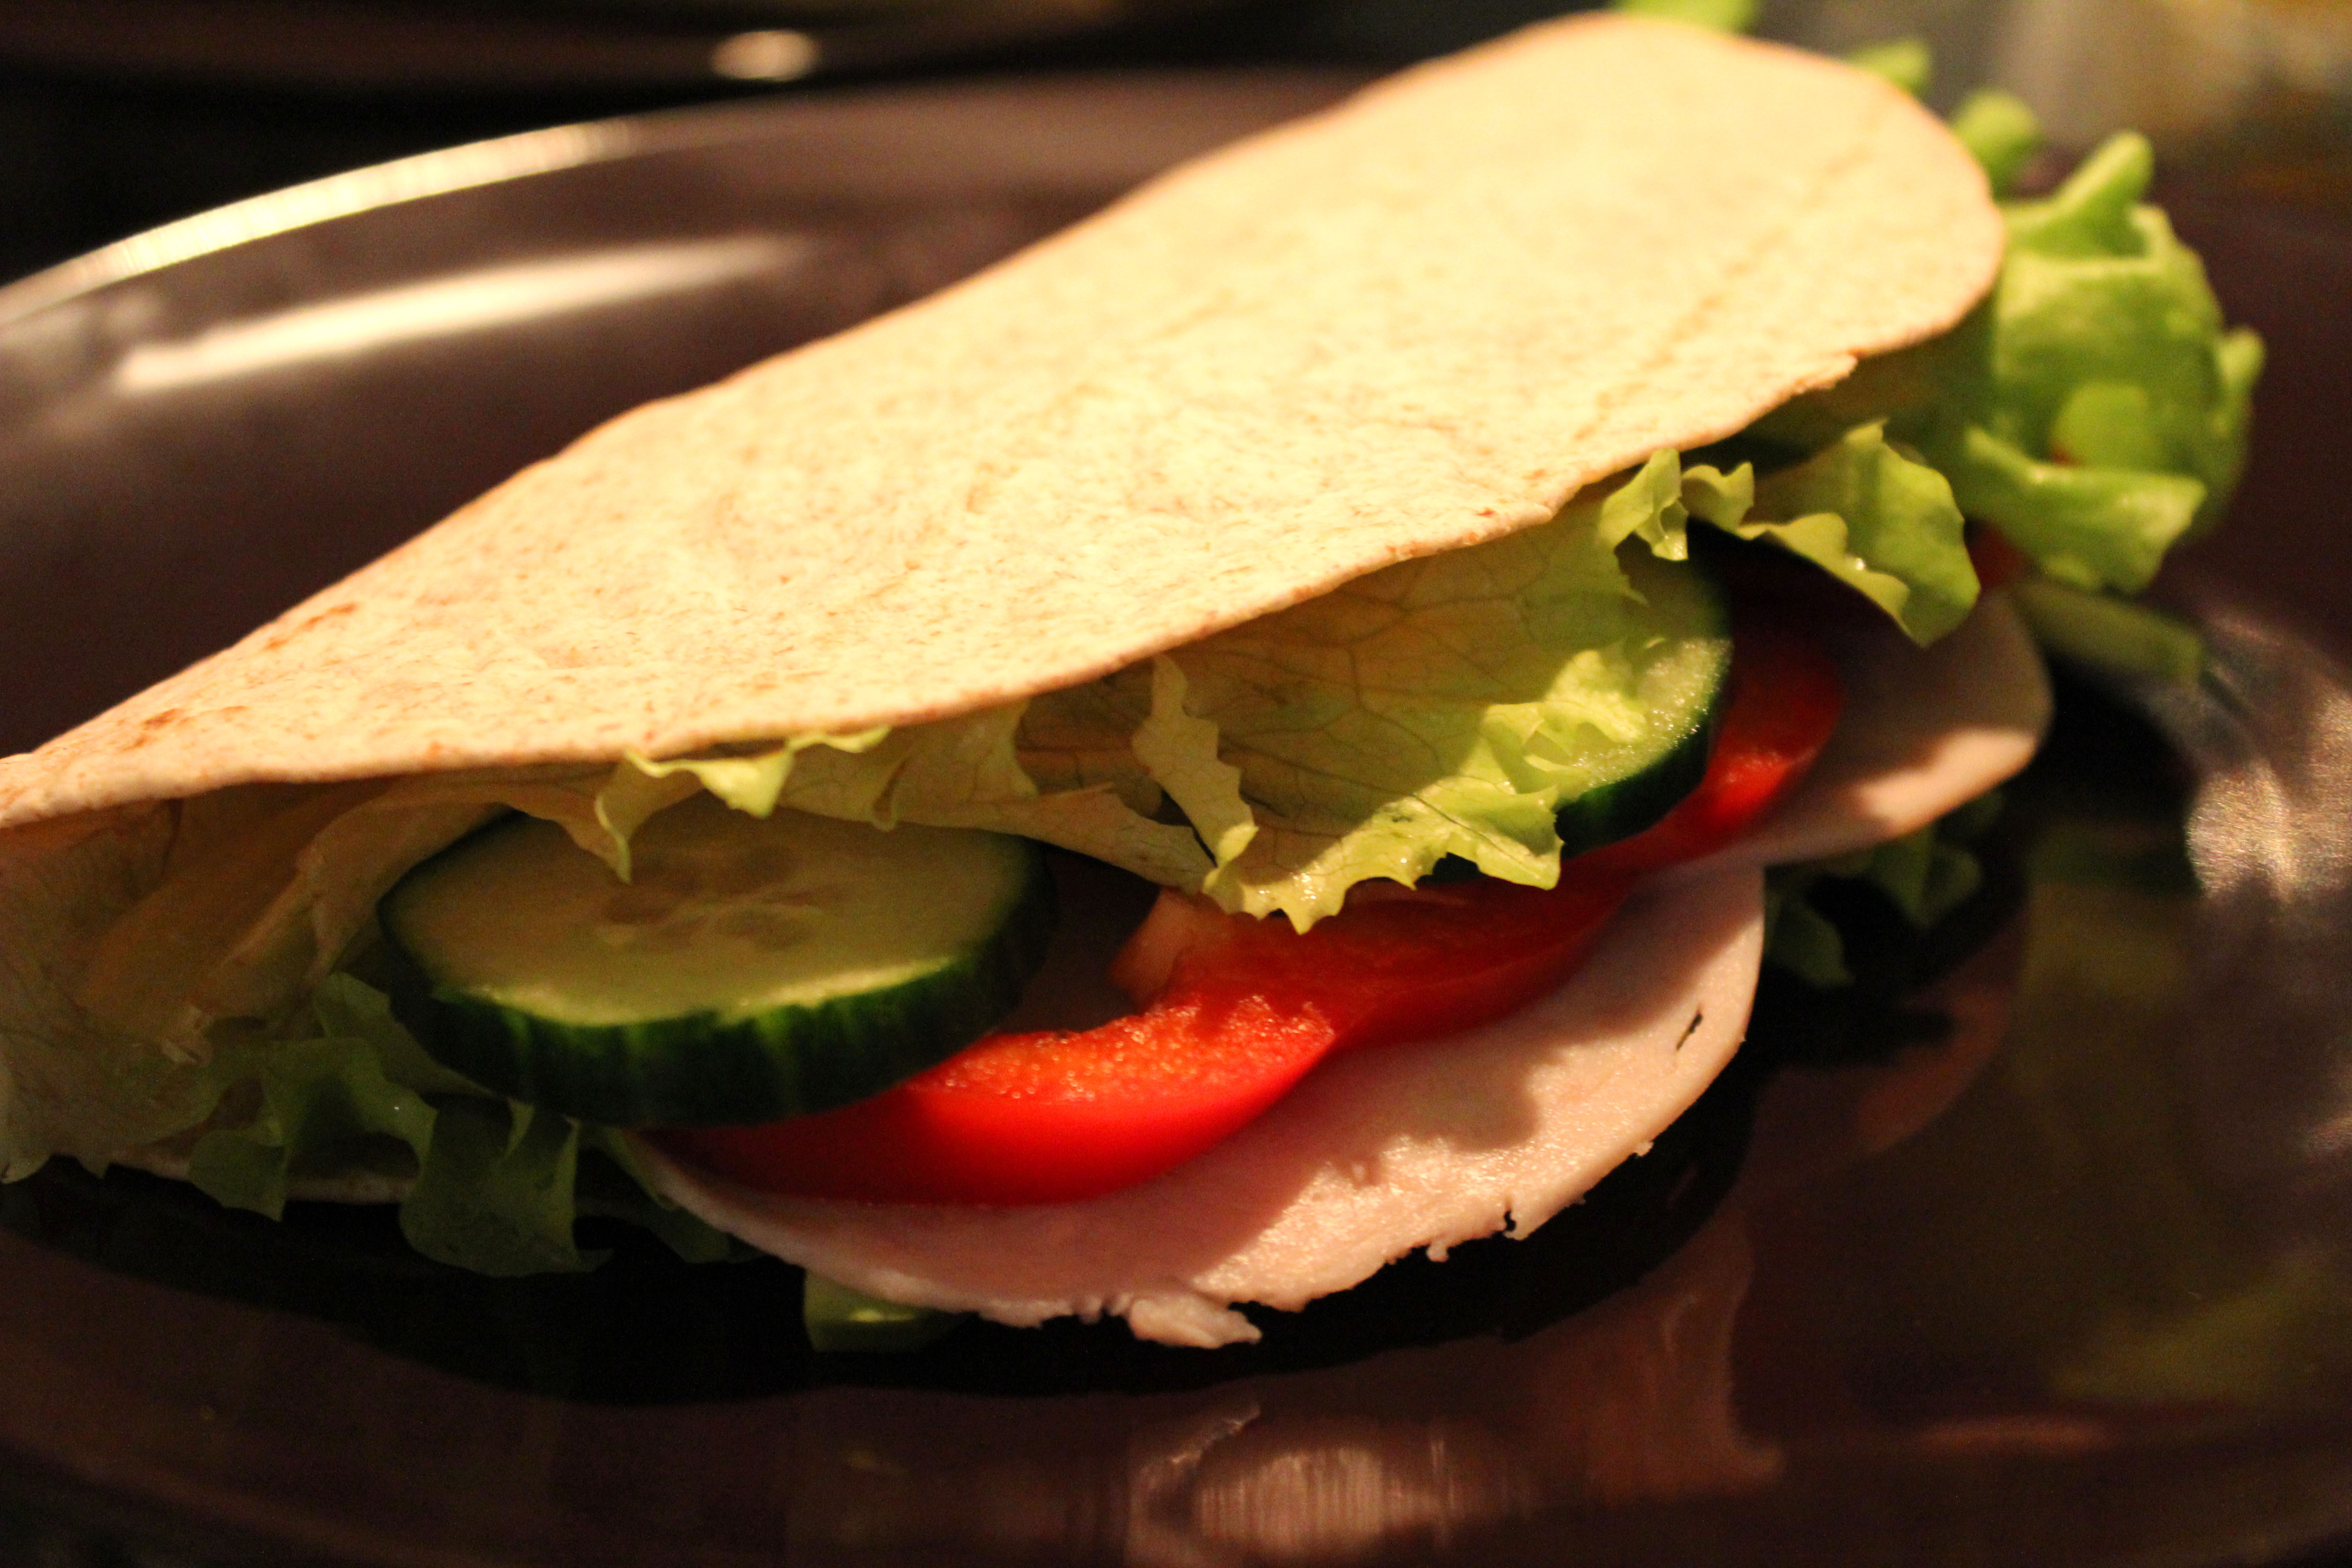
Cucumber, Avocado Turkey Wrap
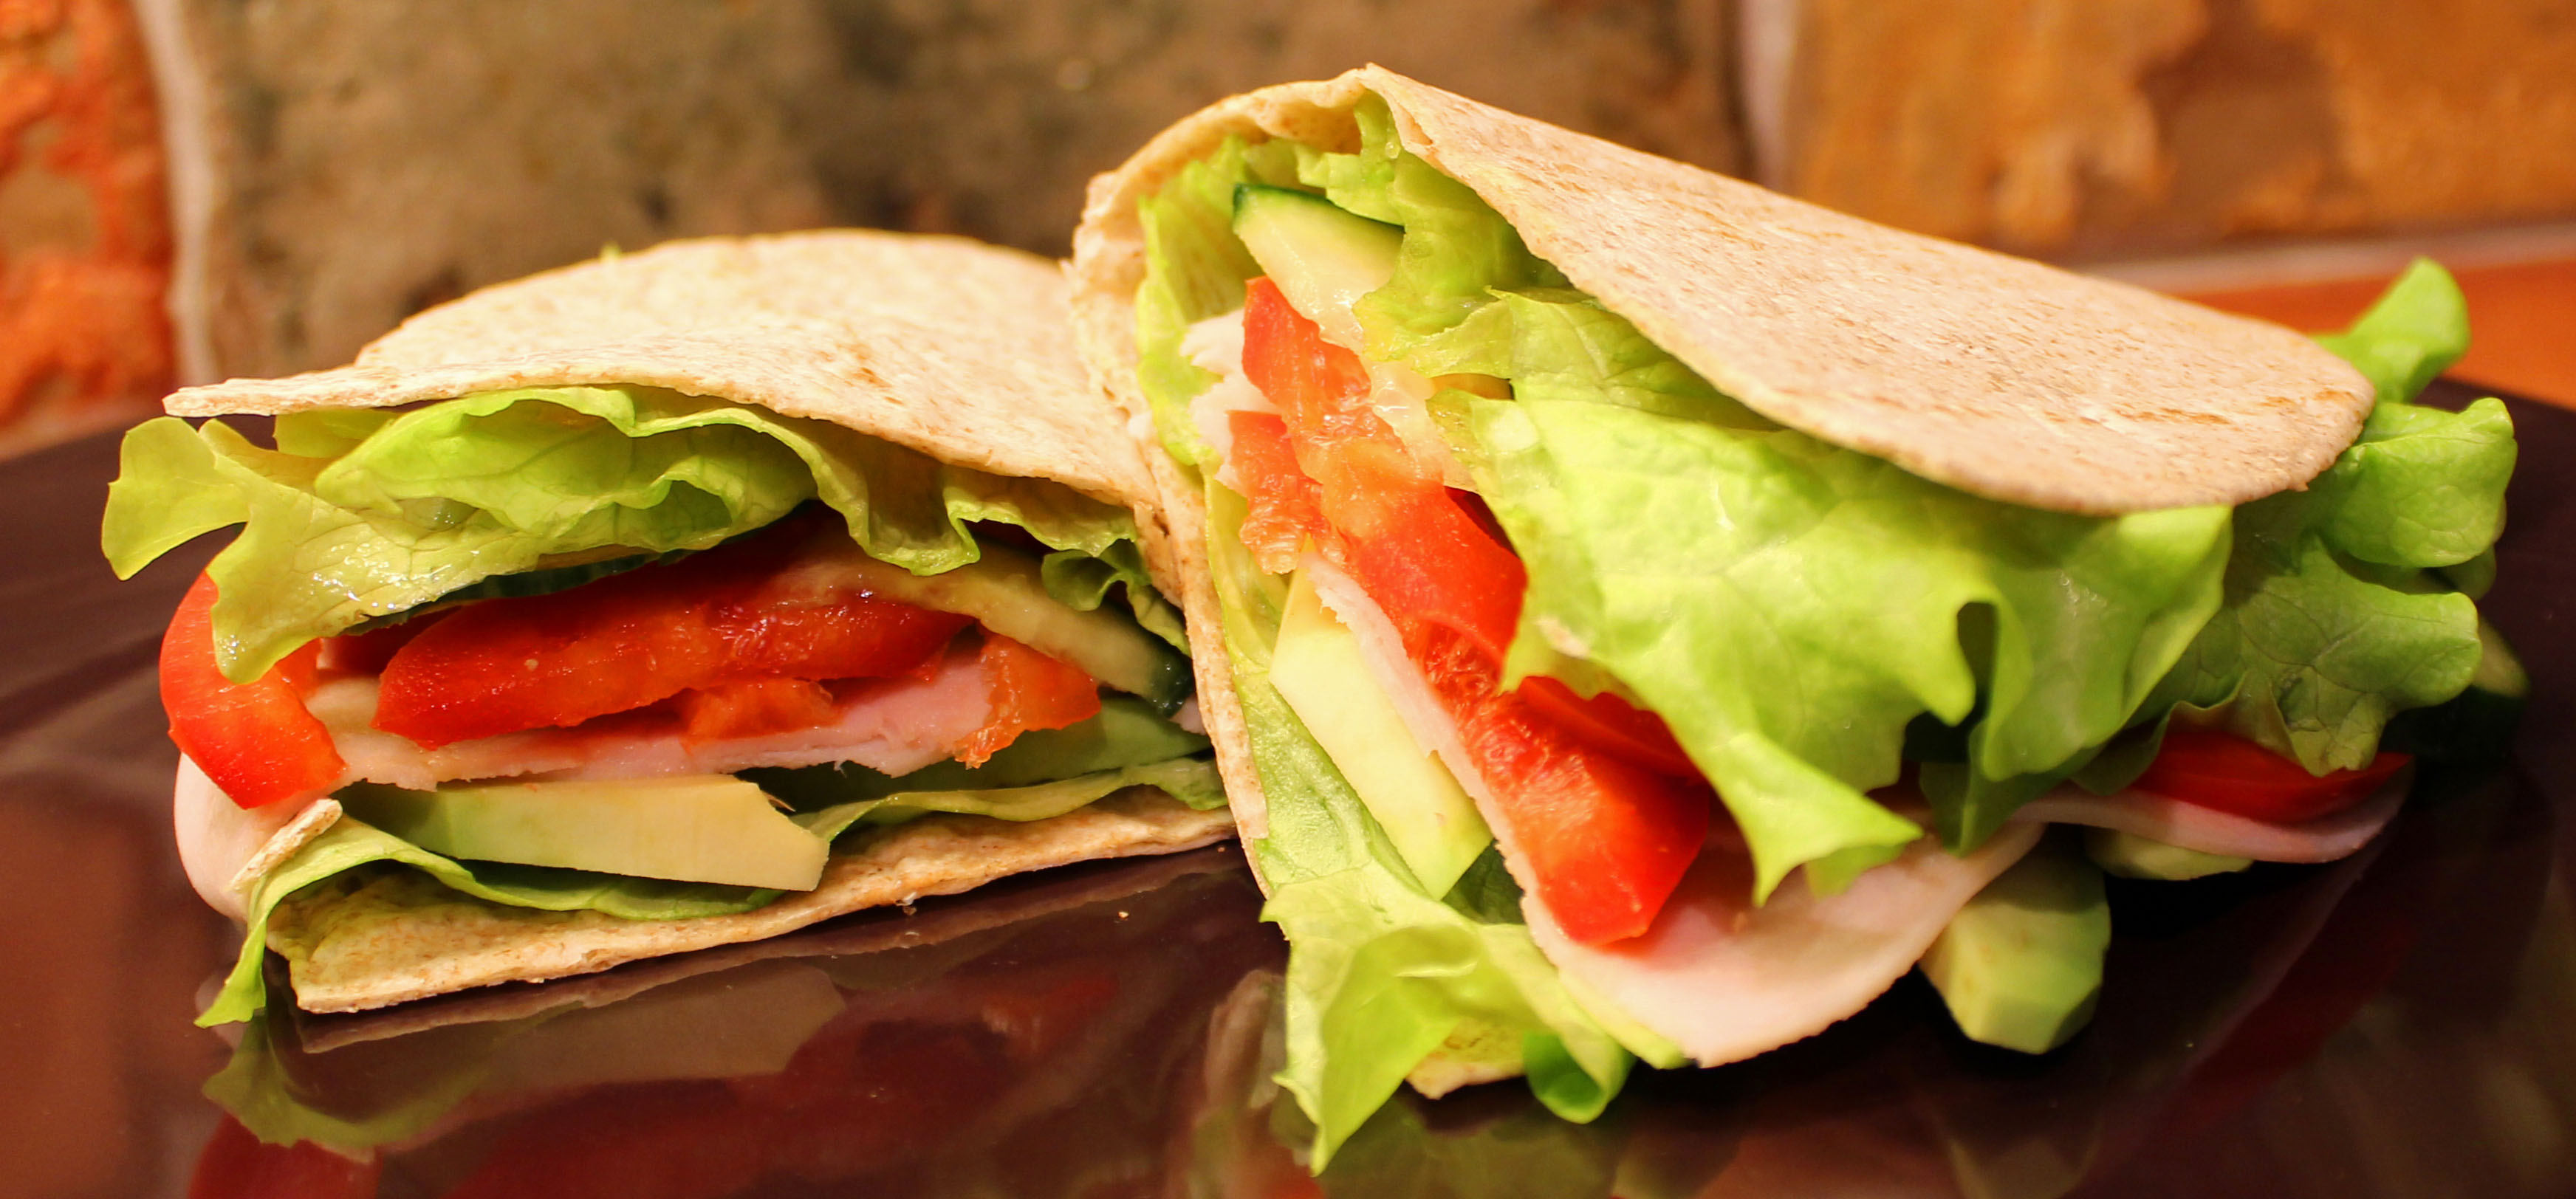 Fresh, Easy & Delicious!
For those of you who are in a hurry this is the perfect lunch option! We bring this wrap to work all the time, it’s healthy and keeps you full. You can always change the turkey to chicken, ham, tofu, eggs or whatever you desire that day! You can also add some cheese and heat it up. Just use your imagination You can also prepare this the day before and keep it in a container or zip lock bag in your fridge over night
You’ll need:
- 1 Whole Wheat Tortilla Wrap
- 1 Leaf of Grand Rapids Lettuce
- Bell Pepper (any color)
- Cucumber
- Avocado
- 3 Slices of Lean Turkey fillet (ultra thin slices, the kind you get cold at the supermarket)
- Pepper or Dressing of your choice
1. Wash and chop your vegetables, and dry them with a paper towel, that way your wrap doesn’t become soggy if your bringing it with you for lunch.
2. Get your wrap and place the lettuce leaf on top, then your cucumber, bell peppers and turkey on one half.
3. Season with some pepper or add a little bit of dressing and place the avocado on top. If your bringing the wrap with you, we suggest you take your dressing along in a little container because the dressing causes the wrap to get soggy.
4. Fold the wrap and enjoy!
Tips:
- If you like to have this for dinner, use thicker turkey slices or even a chicken breast 😉
- You can also add some, tomatoes, onions or even some black olives!
Low Fat Chocolate Cupcakes
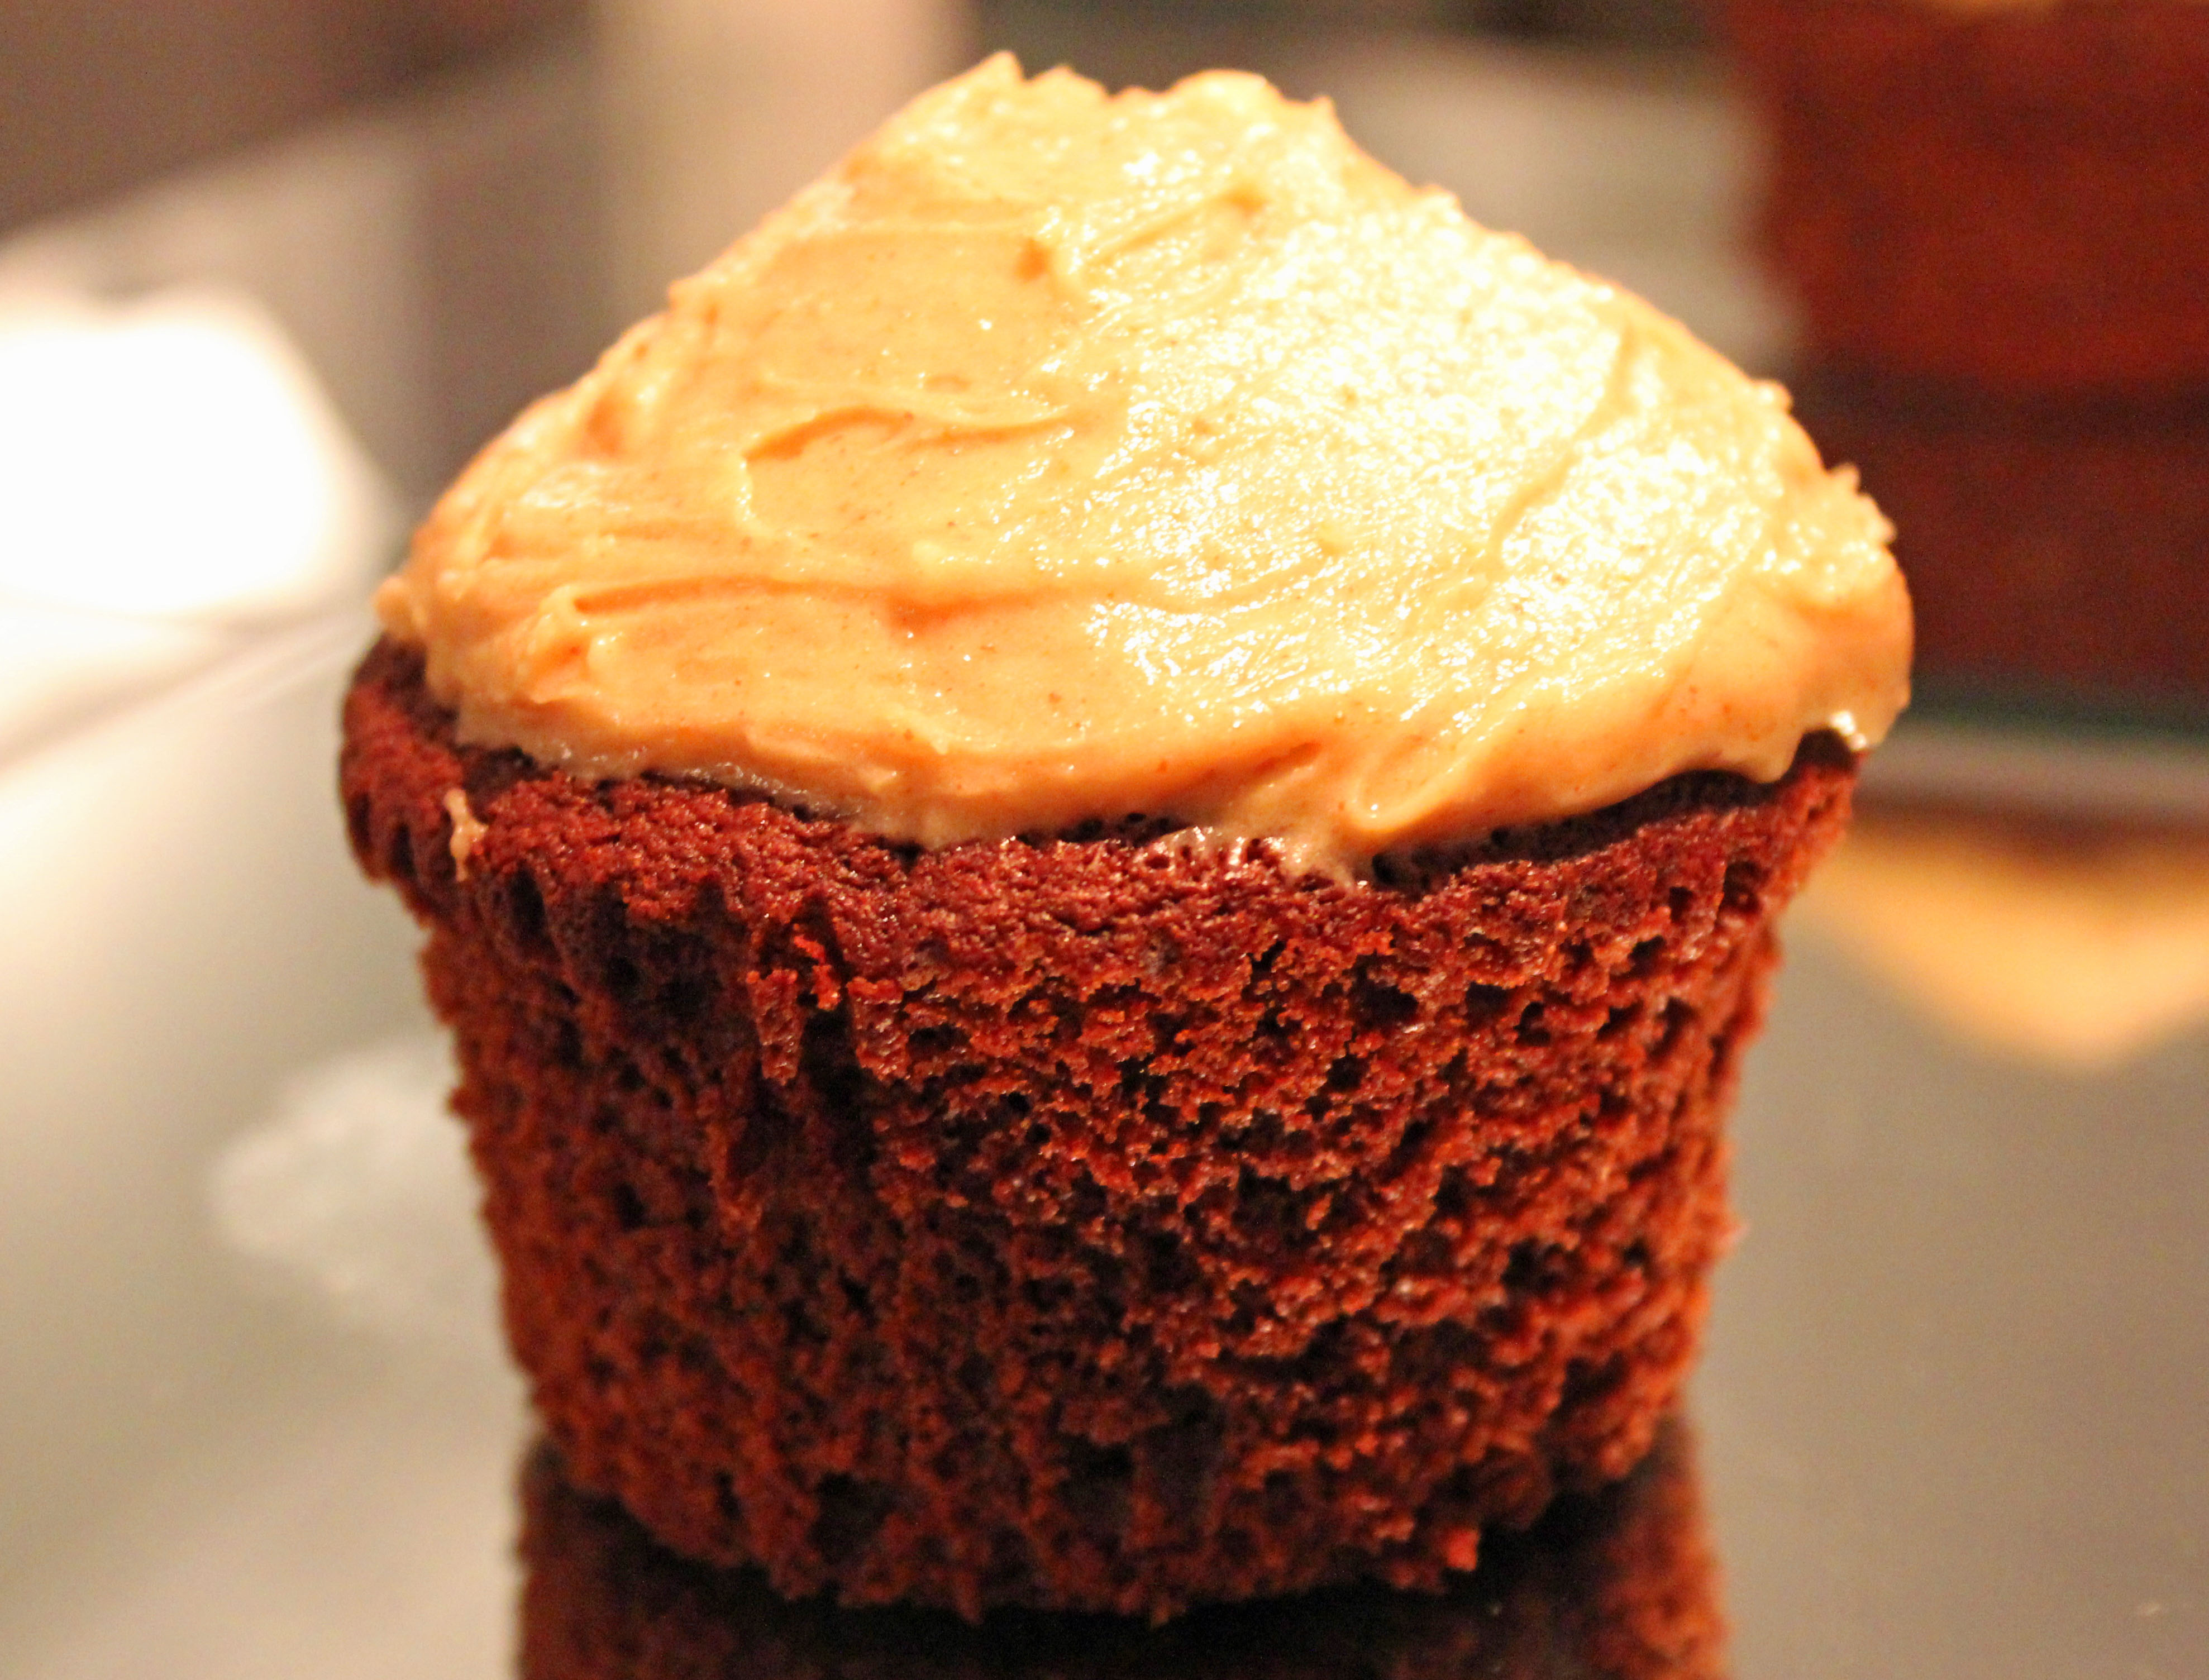
Sweet Chocolate Cupcakes with Peanut Butter Frosting!
It’s Halloween and the kids are begging for treats, so what better than a chocolate cupcake with peanut butter frosting! We’ve made this a healthier choice by using coconut oil, 70% dark chocolate, whole wheat flour, stevia and apple sauce instead of butter, semisweet chocolate chips, granulated sugar and eggs. If you are vegan you can swop the sour cream with a natural soy yoghurt
Cupcakes:
- 8 Tbsp Coconut Oil
- 2 ounces Organic Ecuador 70% dark chocolate (or any other dark chocolate you prefer)
- ½ Cup Organic Dark Cocoa Powder
- ¾ Cup White Whole Wheat flour (or all purpose flour)
- ½ tsp Baking soda
- ¾ tsp Baking powder
- 1/2 Cup Apple Sauce (equals 2 eggs)
- ¾ cup Stevia
- 1 tsp Vanilla extract
- ½ tsp table salt
- ½ Cup Organic Sour Cream
Peanut Butter Frosting: (warning super sweet! but oh so good)
- 1 Cup Organic Confectioner Sugar
- 1 Cup Organic Creamy Peanut-butter
- 5 Tbsp Coconut Oil room temperature
- ¾ tsp Vanilla extract
- ¼ tsp Kosher salt
- ⅓ Cup Organic Heavy Cream (or ⅓ cup thick coconut milk, only the solid milk not the liquid)
Prep:
1. Preheat the oven to 350 F (177 C)
2. Combine coconut oil, chocolate and cocoa powder in a heat proof bowl and using the water bath method heat until the chocolate and coconut oil has melted. Remove from heat and whisk until smooth. Set aside to cool until just warm to touch.
3. In a separate bowl whisk together flour, baking soda and baking powder together, set aside.
4. Now use your stand mixer and whisk apple sauce, sugar, vanilla, and salt until fully incorporated. Add the cooled chocolate to the mix and blend until combined. Sift 1/3 of the flour to the mix and stir until combined. Now add the chocolate mix to the batter and blend until combined, then add the sour cream and blend well. Lastly add the rest of the flour until the batter is fluffy and thick.
5. Divide the batter evenly into 16 medium sized muffin cups or 8 large muffin cups. Bake at lower-middle position for about 15-18 minutes or until skewer inserted into center of cupcakes comes out clean.
6. Place the cupcakes on a wire rack to cool. You want the cupcakes to be completely cooled if you are decorating them with frosting.
Note:
Now if you’re not looking for the healthy version this is what you need to change:
- 8 Tbsp Coconut oil = 8 Tbsp unsalted Butter
- Ecuador Chocolate = Semisweet chocolate
- ½ Cup Organic Dark Cocoa powder = ½ Cup Dutch-processed Cocoa powder
- ¾ Cup White Whole Wheat flour = ¾ Cup All Purpose Flour
- 1/2 Cup Apple Sauce = 2 Eggs
- ¾ cup Stevia = ¾ cup granulated Sugar
- 5 Tbsp Coconut Oil = 5 Tbsp Butter
Frosting:
Using a stand mixer, blend the confectioner sugar, peanut butter, coconut oil, vanilla and salt. Mix at medium speed until mixture creamy, you will have to scrape down the sides a few times. Add the cream and beat on high speed until the mixture is light and smooth.
Decorate you cupcakes and Enjoy!
Fresh O.J with a Zing!
 Homemade Orange juice with a Kick!
Winter is coming and the flu is right around the corner, there is a way of preventing the runny nose, headaches and fever. How? Take care of your body, eat healthy, drink plenty of fluids stay away from junk food, eat fruits and vegetables, get plenty of sleep and exercise!
We all know that this is something we should practice all the time, but we also have the most awesome juice on the market and you can make it in your own kitchen!
Best of all it’s not processed and packed with all the artificial products and junk you don’t even know what are and how they are made!
All you need for this juice, is a blender or a juicer, oranges and fresh ginger root!
Did you know:
Ginger:
The health benefits of ginger are thought to include anti fungal, antibacterial, anti clotting, antiviral, analgesic, increases blood flow and often use for treating nausea caused by seasickness and morning sickness during pregnancy.
Oranges:
You may already know that oranges are a great source of vitamin C, but did you know just one orange alone supplies 116.2% of the daily value for vitamin C!!
Drinking one glass of fresh orange juice is more protective than consuming Vitamin C supplements. So we recommend you drink/eat at least one orange a day and throw out those vitamin supplements NOW!
After chocolate and vanilla, orange is the world’s favorite flavor!
Now with that information we hope we have convinced you to start making your own O.J at least every other day through the winter
O.J & Ginger Root Juice:
- 3 fresh Oranges
- 1/2 cm chunk of Ginger root
- ice cubes

- Peel the oranges leaving as much pith as possible for a creamier and more nutritious juice.
- Juice the oranges and ginger together using a juicer and serve with ice cubes!
- If you’re using a blender you can mix all the ingredients together and strain if desired.

Enjoy & stay healthy!
P.S. We recommend you use the Philips Juicers! They have been awarded as the best juicers on the market! We use Philips Avance Juicer HR1871!