Category Archives: Dinners
Easy Pesto/Curry Chicken
Ingredients
Chicken breast, about 1 kg.
2 tablespoons vegetable oil
2 large onions, finely chopped
3 garlic cloves, finely chopped
2 tablespoons curry powder
500 ml chicken stock
1 tablespoon chilli pesto or tomato purée
1/2 teaspoon sugar
2 tablespoons Crème Fraîche or natural yogurt
salt and freshly ground black pepper
1. Take the chicken breast and jointed into 10-12 pieces, and season them with salt and pepper.
2. Heat the oil in a deep frying pan. Add the chicken and brown it on all sides for 6–8 minutes over a medium heat. Set aside on a plate.
3. Cook the onions in the pan for 5 minutes until golden brown, stirring regularly. Add the garlic and curry powder and cook, stirring, for 1 minute.
4. Add the stock, chilli pesto or tomato purée, sugar and seasoning. Mix well and add the chicken. Bring to the boil, then reduce the heat, cover and simmer for 25 minutes or until tender.
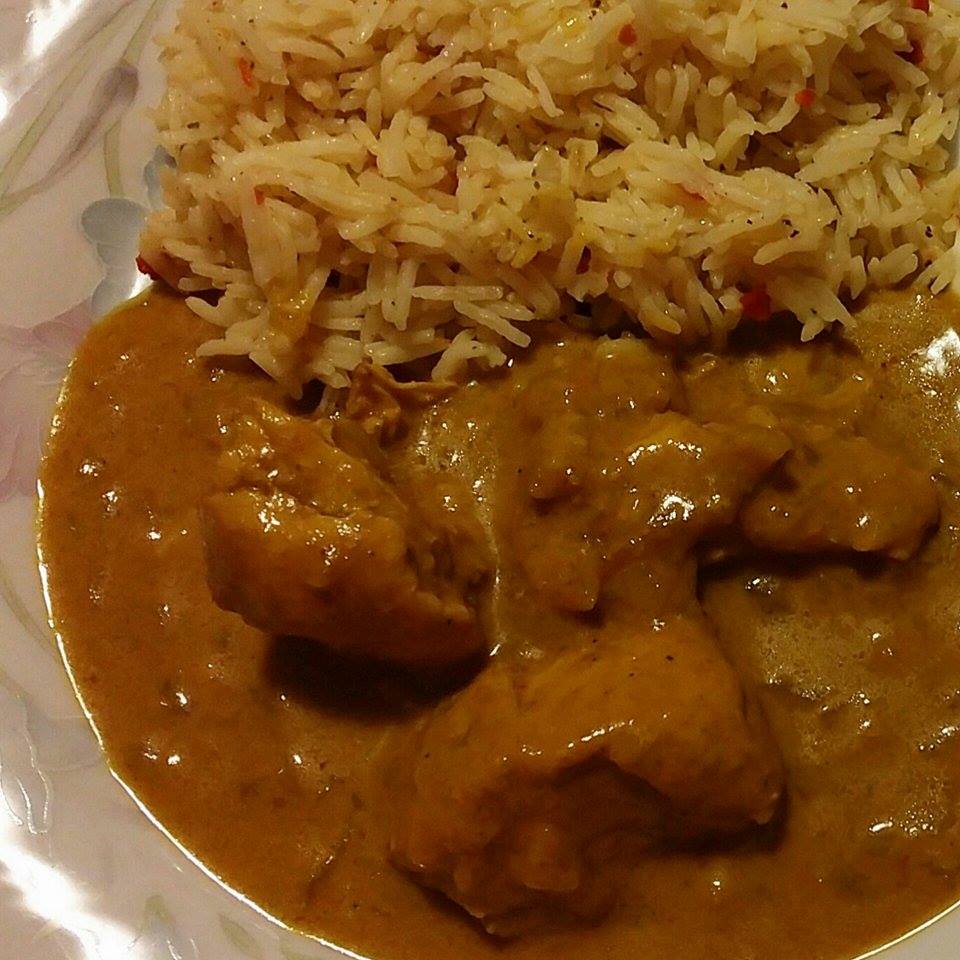
5. Remove the chicken to a serving dish. Heat the sauce over a high heat for 2–3 minutes until reduced and thickened. Take the pan off the heat and stir in the crème fraîche or natural yogurt. Check seasoning, then pour the sauce over the chicken.
Serve with any type of rice/ or warm naan bread.
Enjoy 
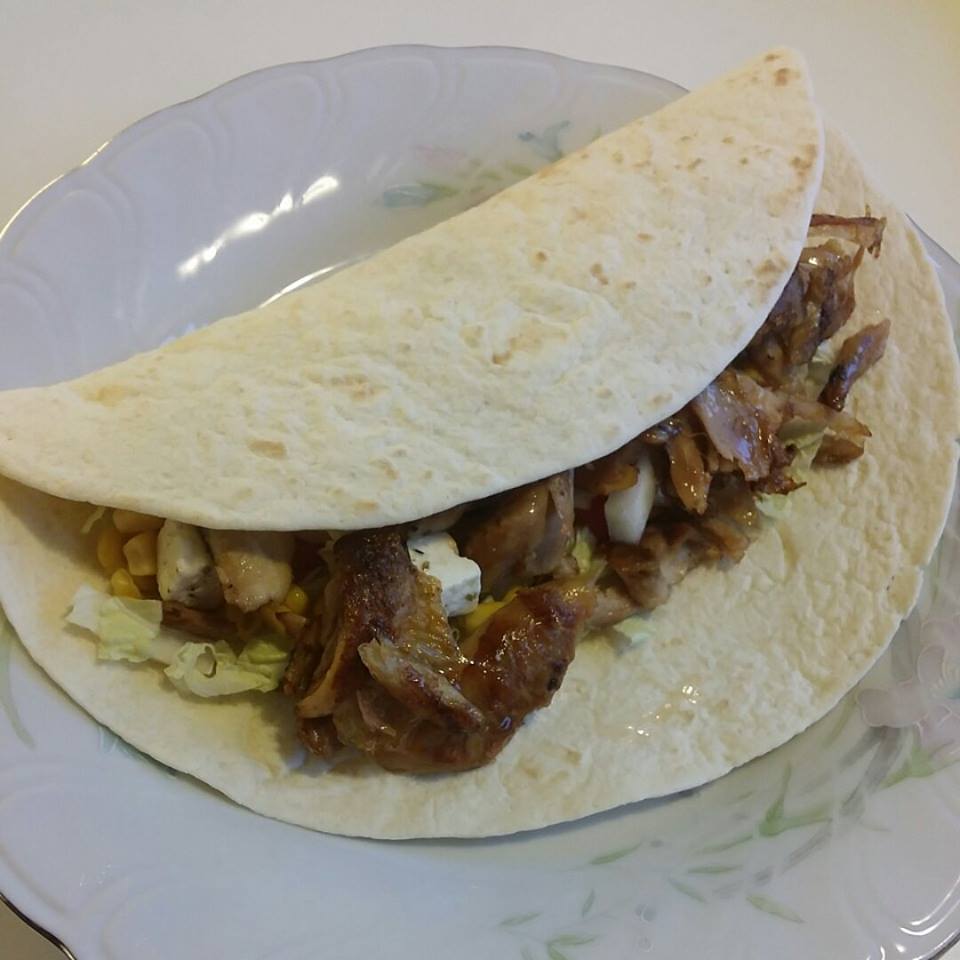
Chicken Tortilla Wrap
Fresh, Easy & Delicious!
For those of you who are in a hurry this is the perfect lunch option! We bring this wrap to work all the time, it’s healthy and keeps you full. You can always change the chicken to turkey, ham, tofu, eggs or whatever you desire that day! You can also add some cheese and heat it up. Just use your imagination You can also prepare this the day before and keep it in a container or zip lock bag in your fridge over night
Chicken tortilla:
Whole Wheat Tortilla Wrap
50 gr. Chicken
40 gr. Crème fraiche,
A little sweet chili sauce
Mixed salad
Iceberg
Corn
Paprika
Tomato
Feta cheese
Enjoy
PS: I didn’t have whole wheat tortilla so I used a white one not as healthy I know
Healthy Bread Rolls
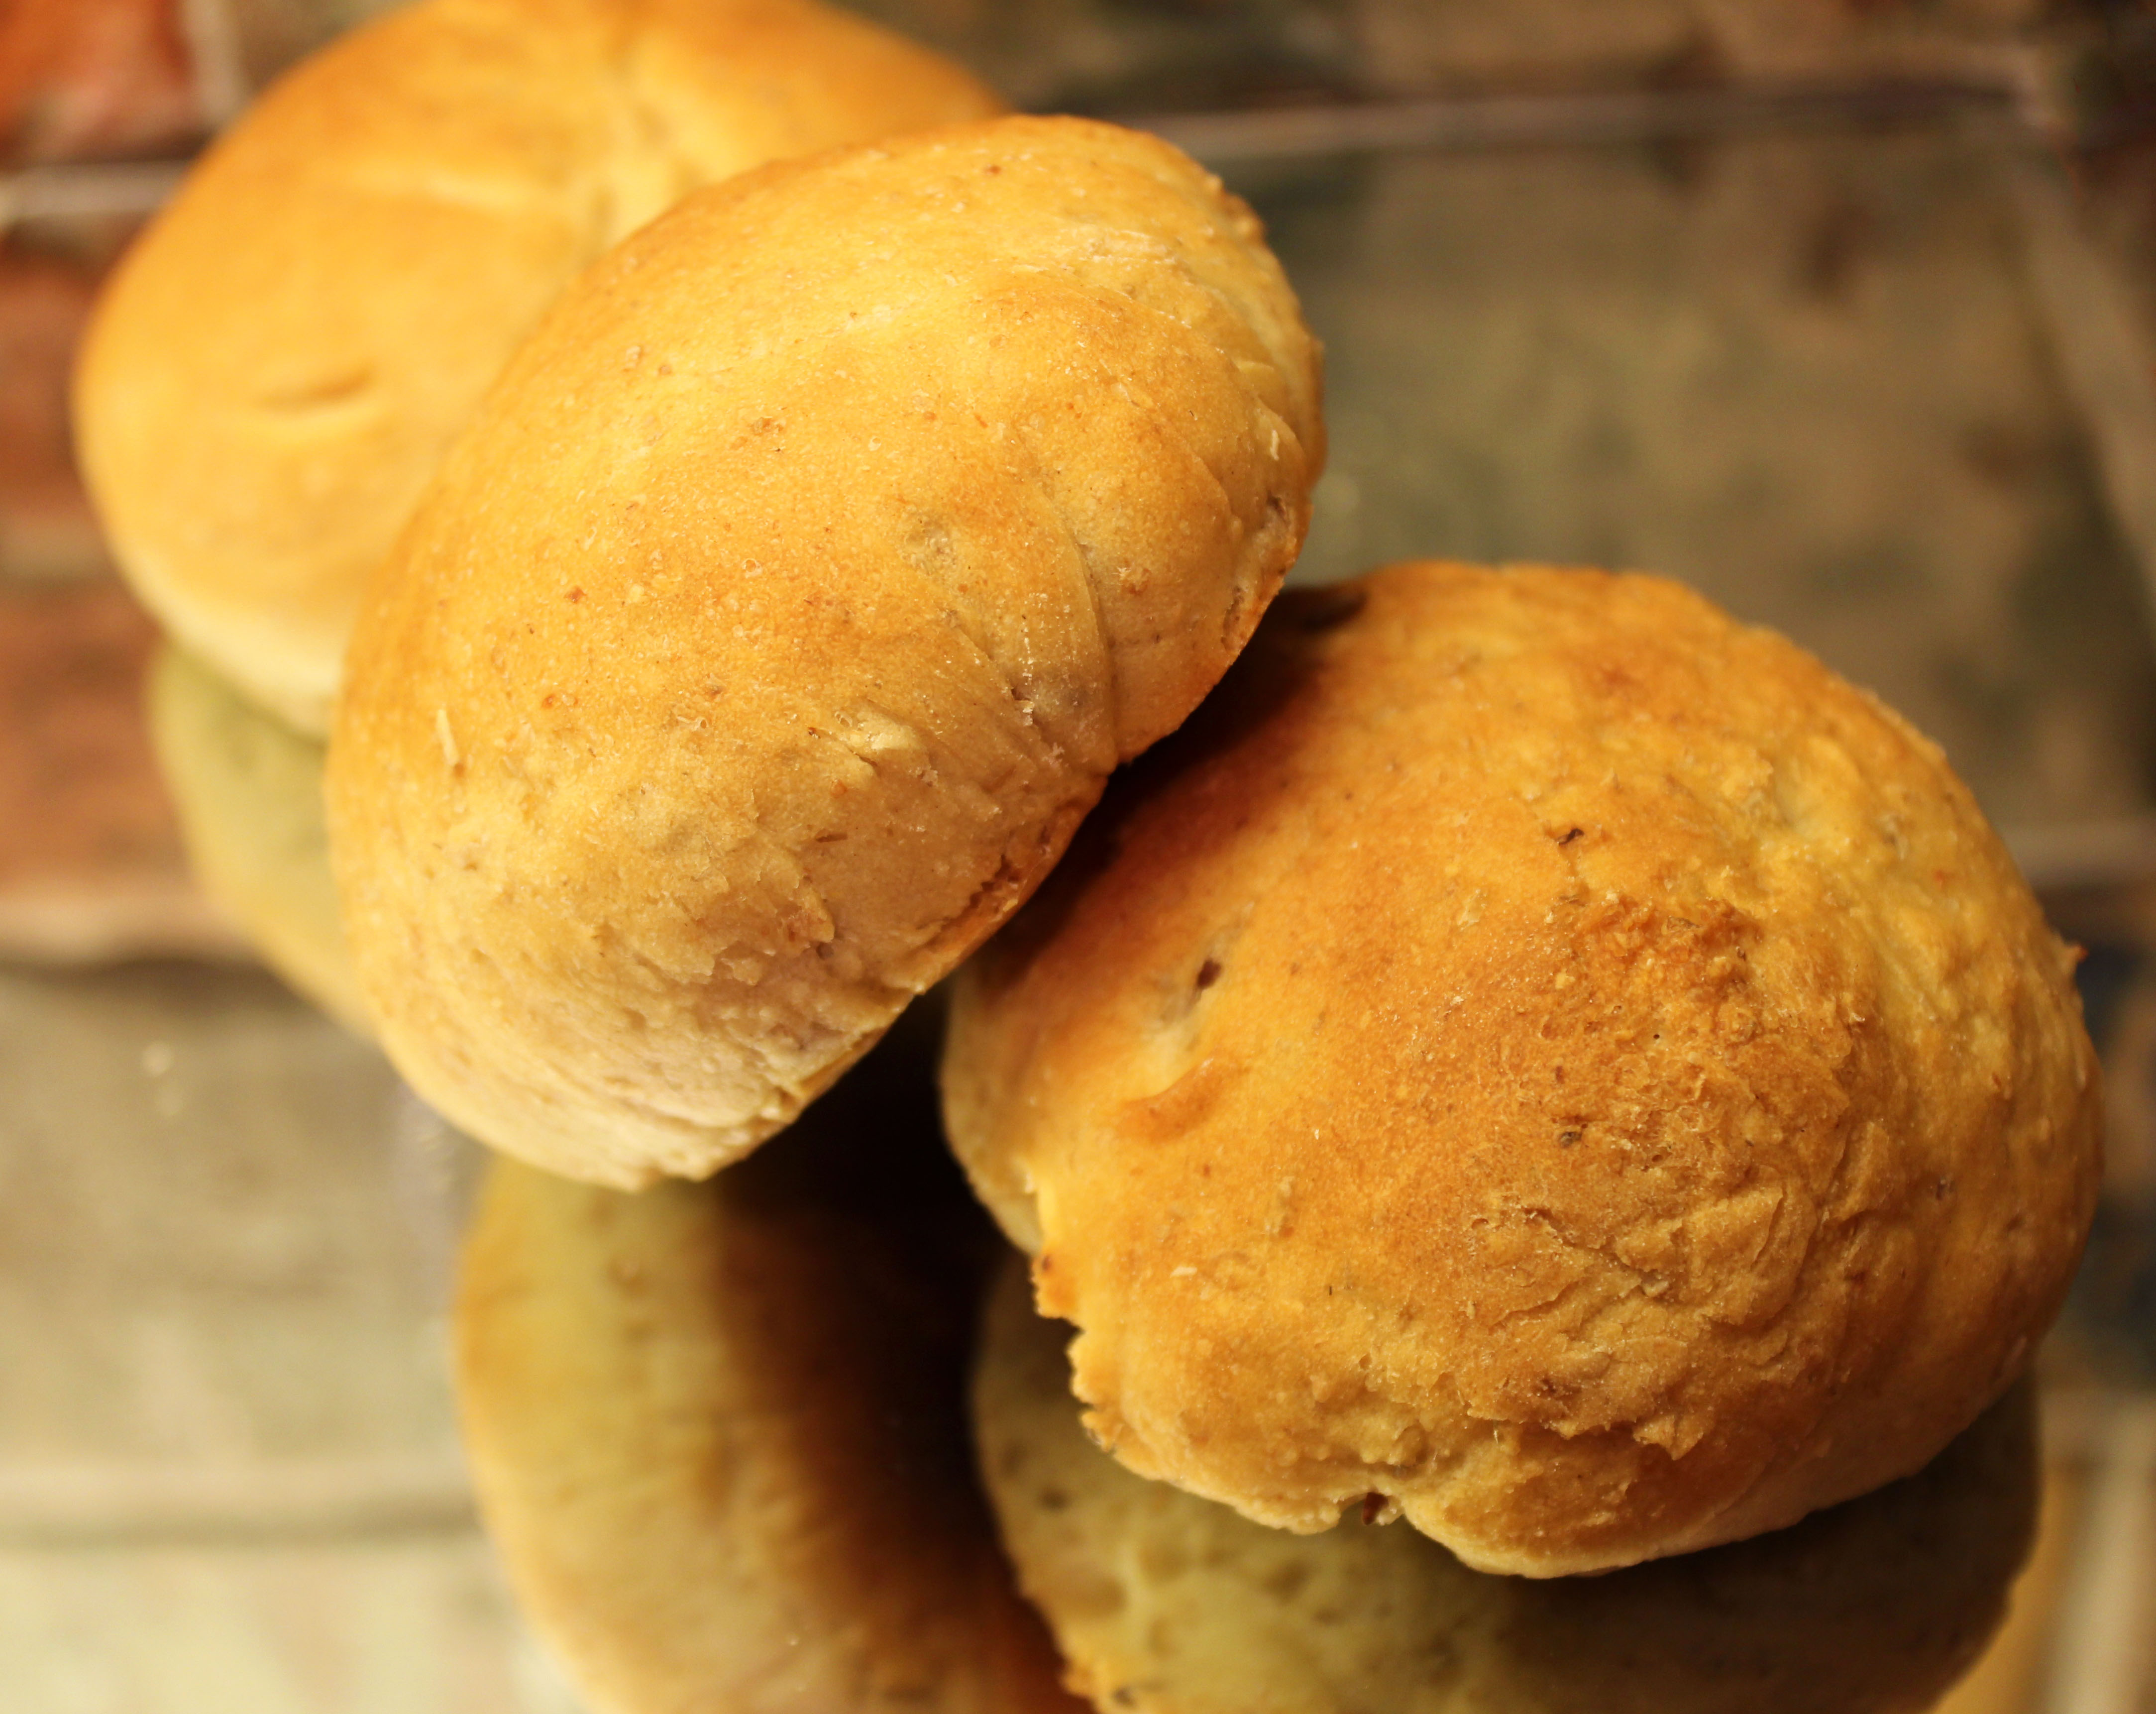 So Healthy and so Delicious!
We love making bread, especially rye bread! It’s really healthy, packed with nutrients and keeps longer! We thought we’d share some health benefits of rye and fiber before we give you the recipe
Did you know:
- Rye bread satisfies longer than wheat
- Rye’s fiber promotes weight loss
- Rye lowers insulin respons
- Improves blood glucose profile
- Helps prevent gallstones
- Rye and other Whole grains substantially lowers type 2 diabetes risk
- Fiber fights diabetes and cardiovascular disease and promotes gastrointestinal health

Recipe:
- 3,3 Tbsp dry Yeast (50 g.)
- 2 Tbsp Butter
- 1 3/4 Cups finger warm Milk
- 1 tsp Salt
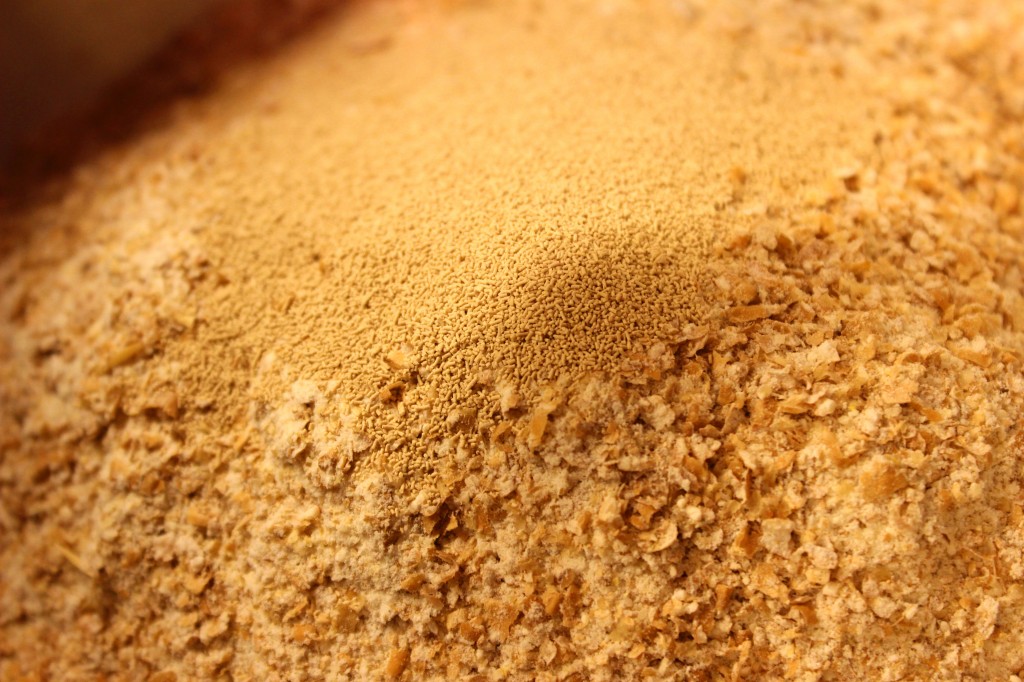
- 3 Cups Rye flour
- 1 1/3 Cups Whole wheat flour
- 1/2 Cup Flaxseeds
Tip: before you start, it’s best to use your stand mixer for this recipe.
1. Melt your butter, then add the milk to it and warm it up until the mix is finger warm (98.5 F/37 C) and add it to your mixing bowl along with the dry yeast.
2. Add your salt long with the the whole wheat, flax-seeds and 2 cups of rye flour. Gradually turn your speed up on your stand mixer and add some more of the flower until the dough doesn’t stick to the bowl anymore.
3. Knead the dough for an additional 2-3 minutes until smooth.
4. Get your kitchen sink ready with 1,5 inches of warm water. Wrap the bowl in plastic and place it in the sink.
5. Let the dough rise for about 40 minutes or until doubled in size.
6. Preheat over to 475 F (240 C)
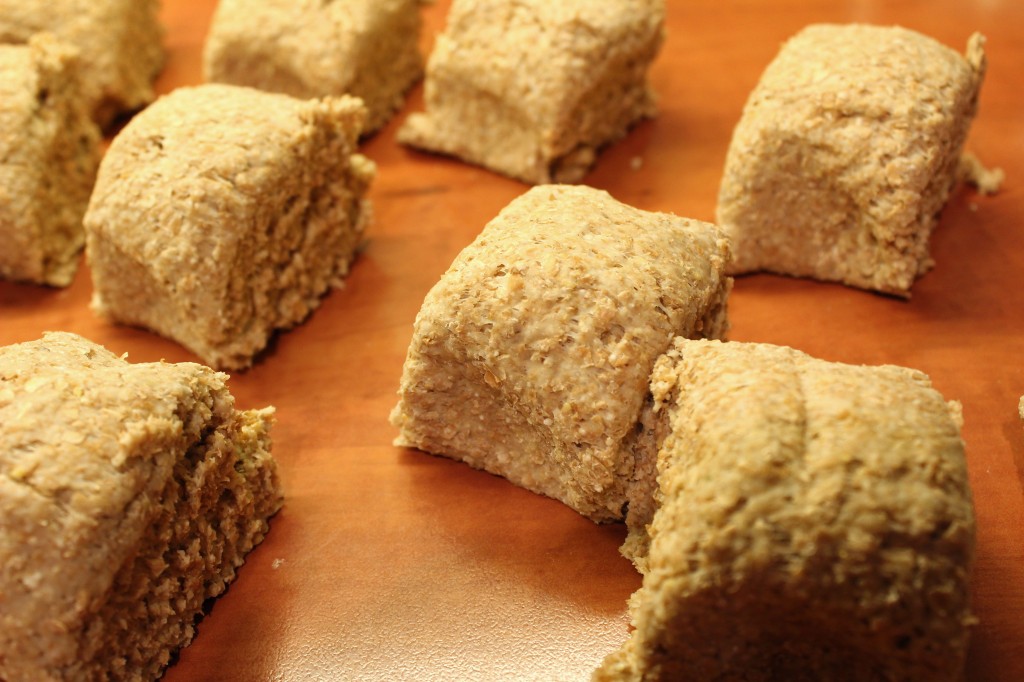
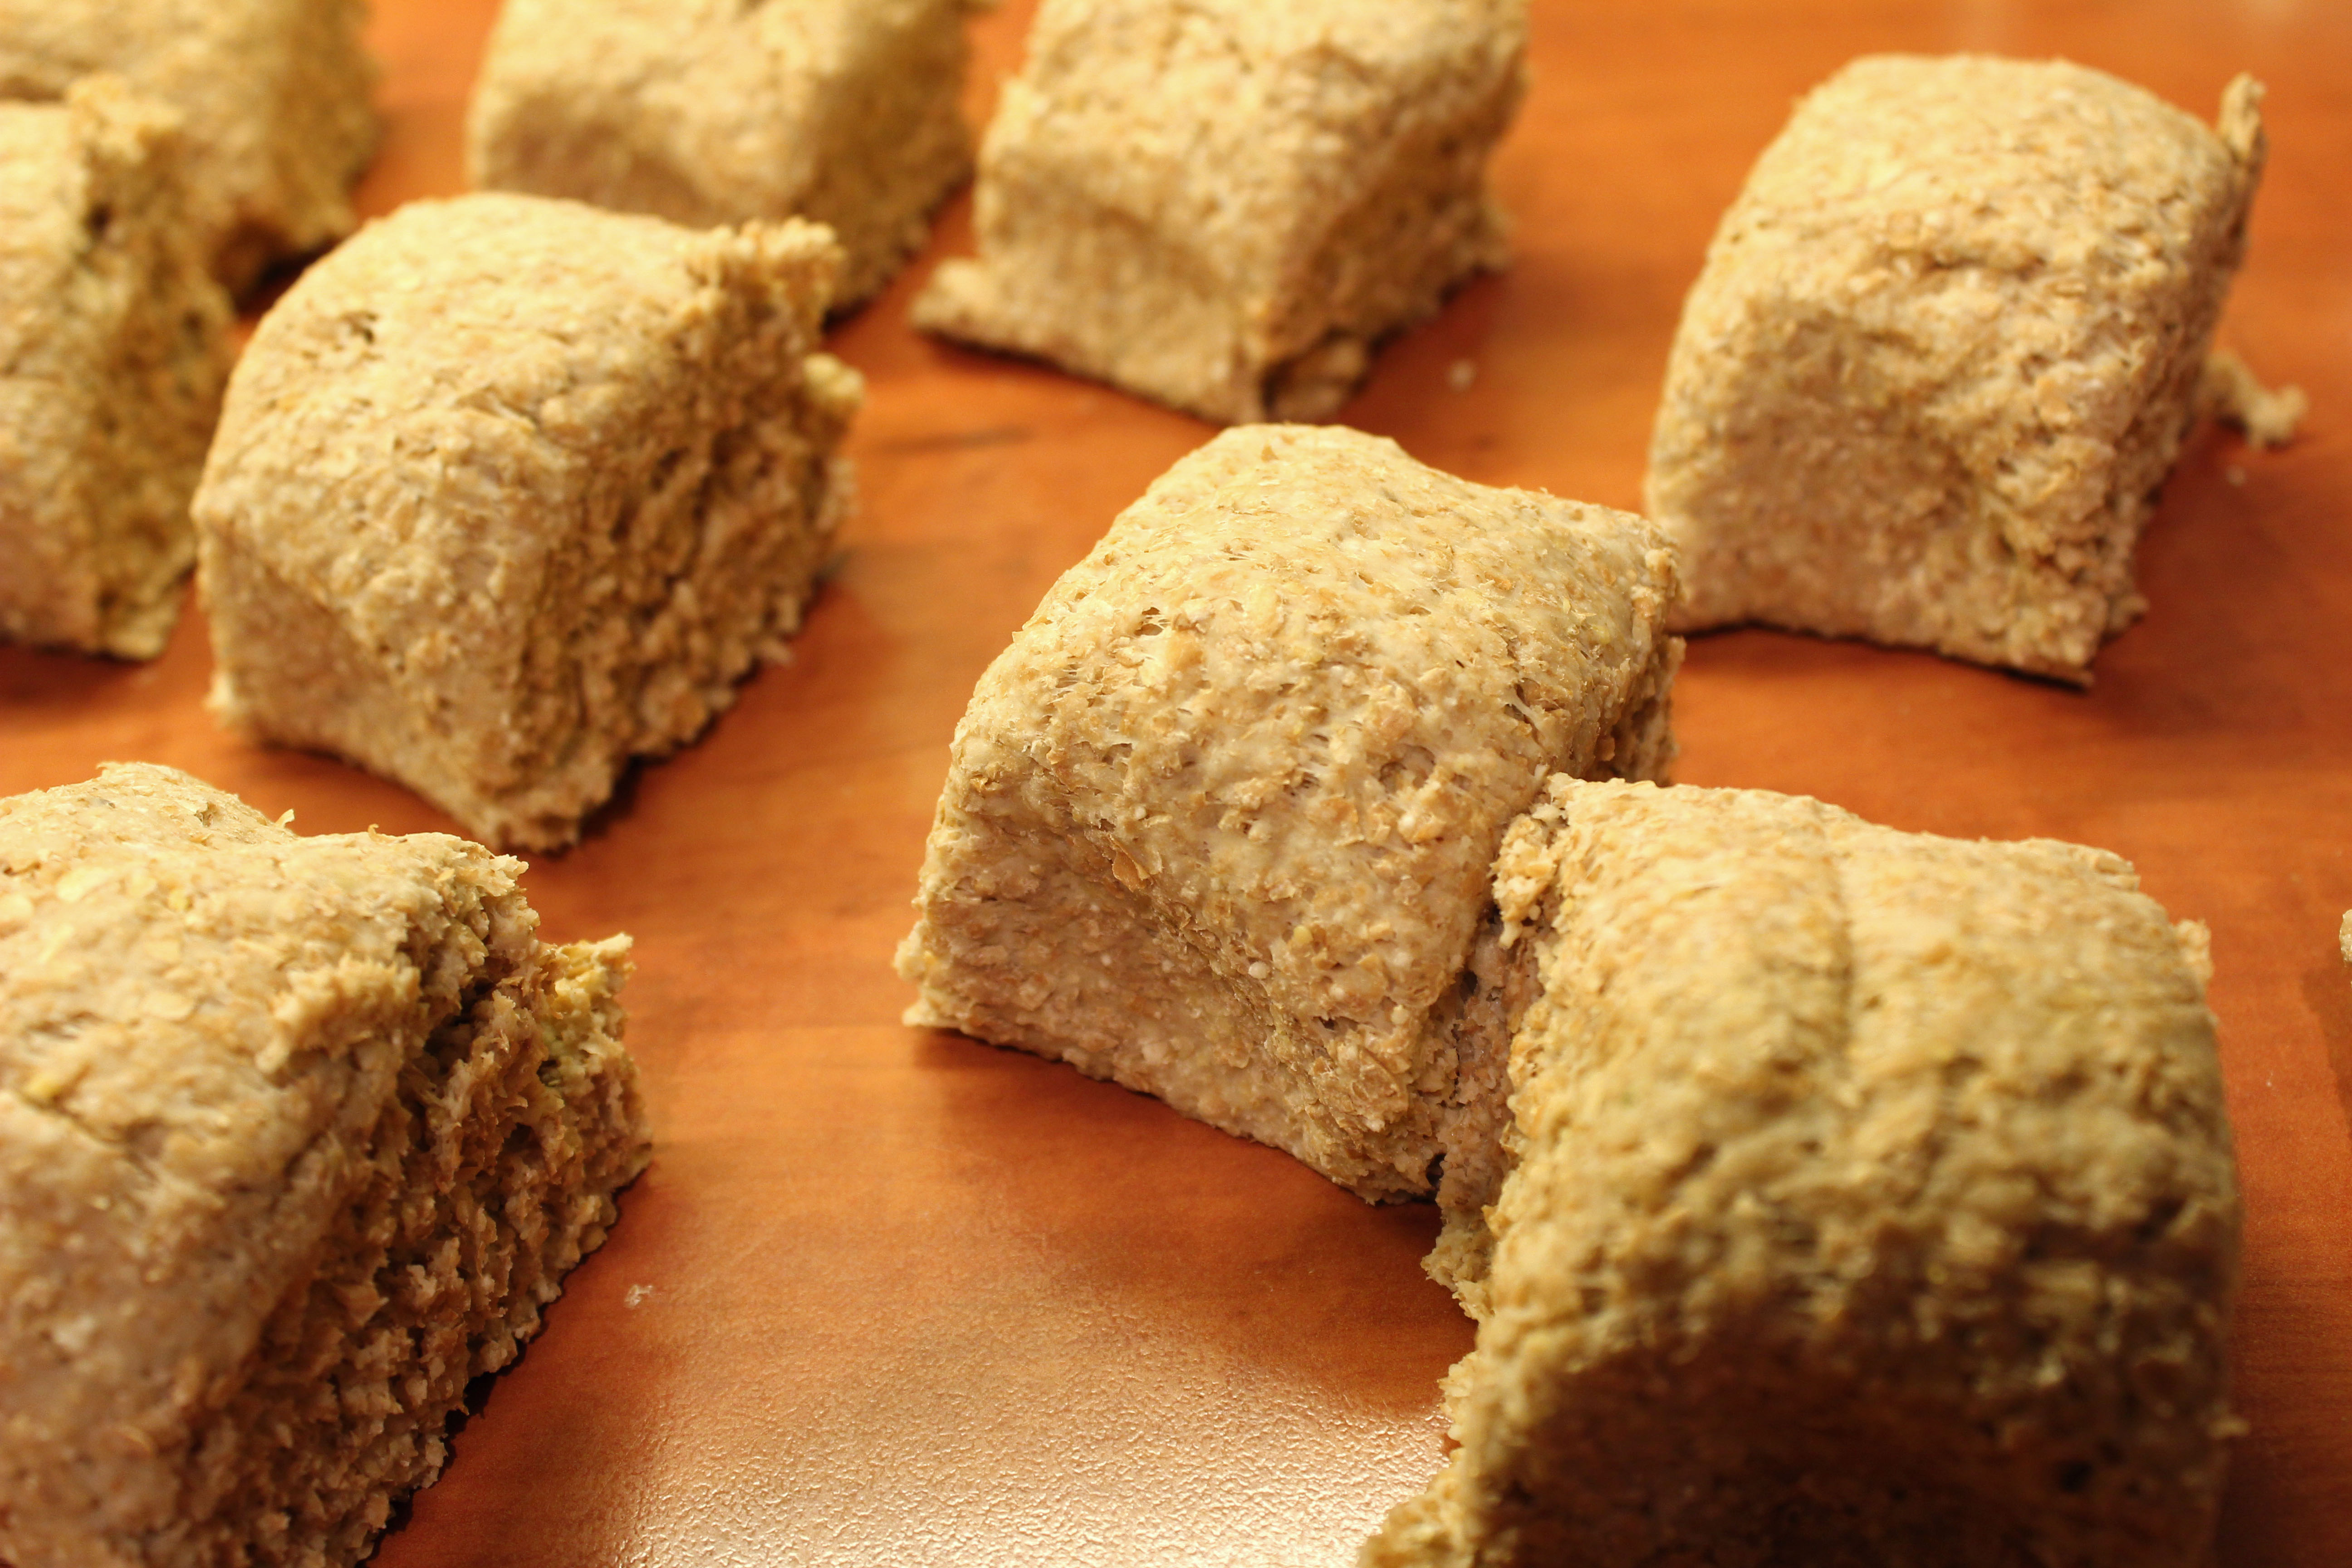
6. Knead the pre-risen dough lightly together (2 minutes) and divide dough into 16 even portions. Roll each portion into a ball and place on a baking sheet lined with parchment paper. Spray or brush the rolls with lukewarm water before placing them in the oven.
7. Bake in the oven for 8-10 minutes on the middle shelf or until golden brown.
8. Straight from the oven set aside under a tea-towel for 5 minutes, this will make them softer.
Enjoy warm or at room temperature!
Tip: These are excellent to store in your freezer for a later date!
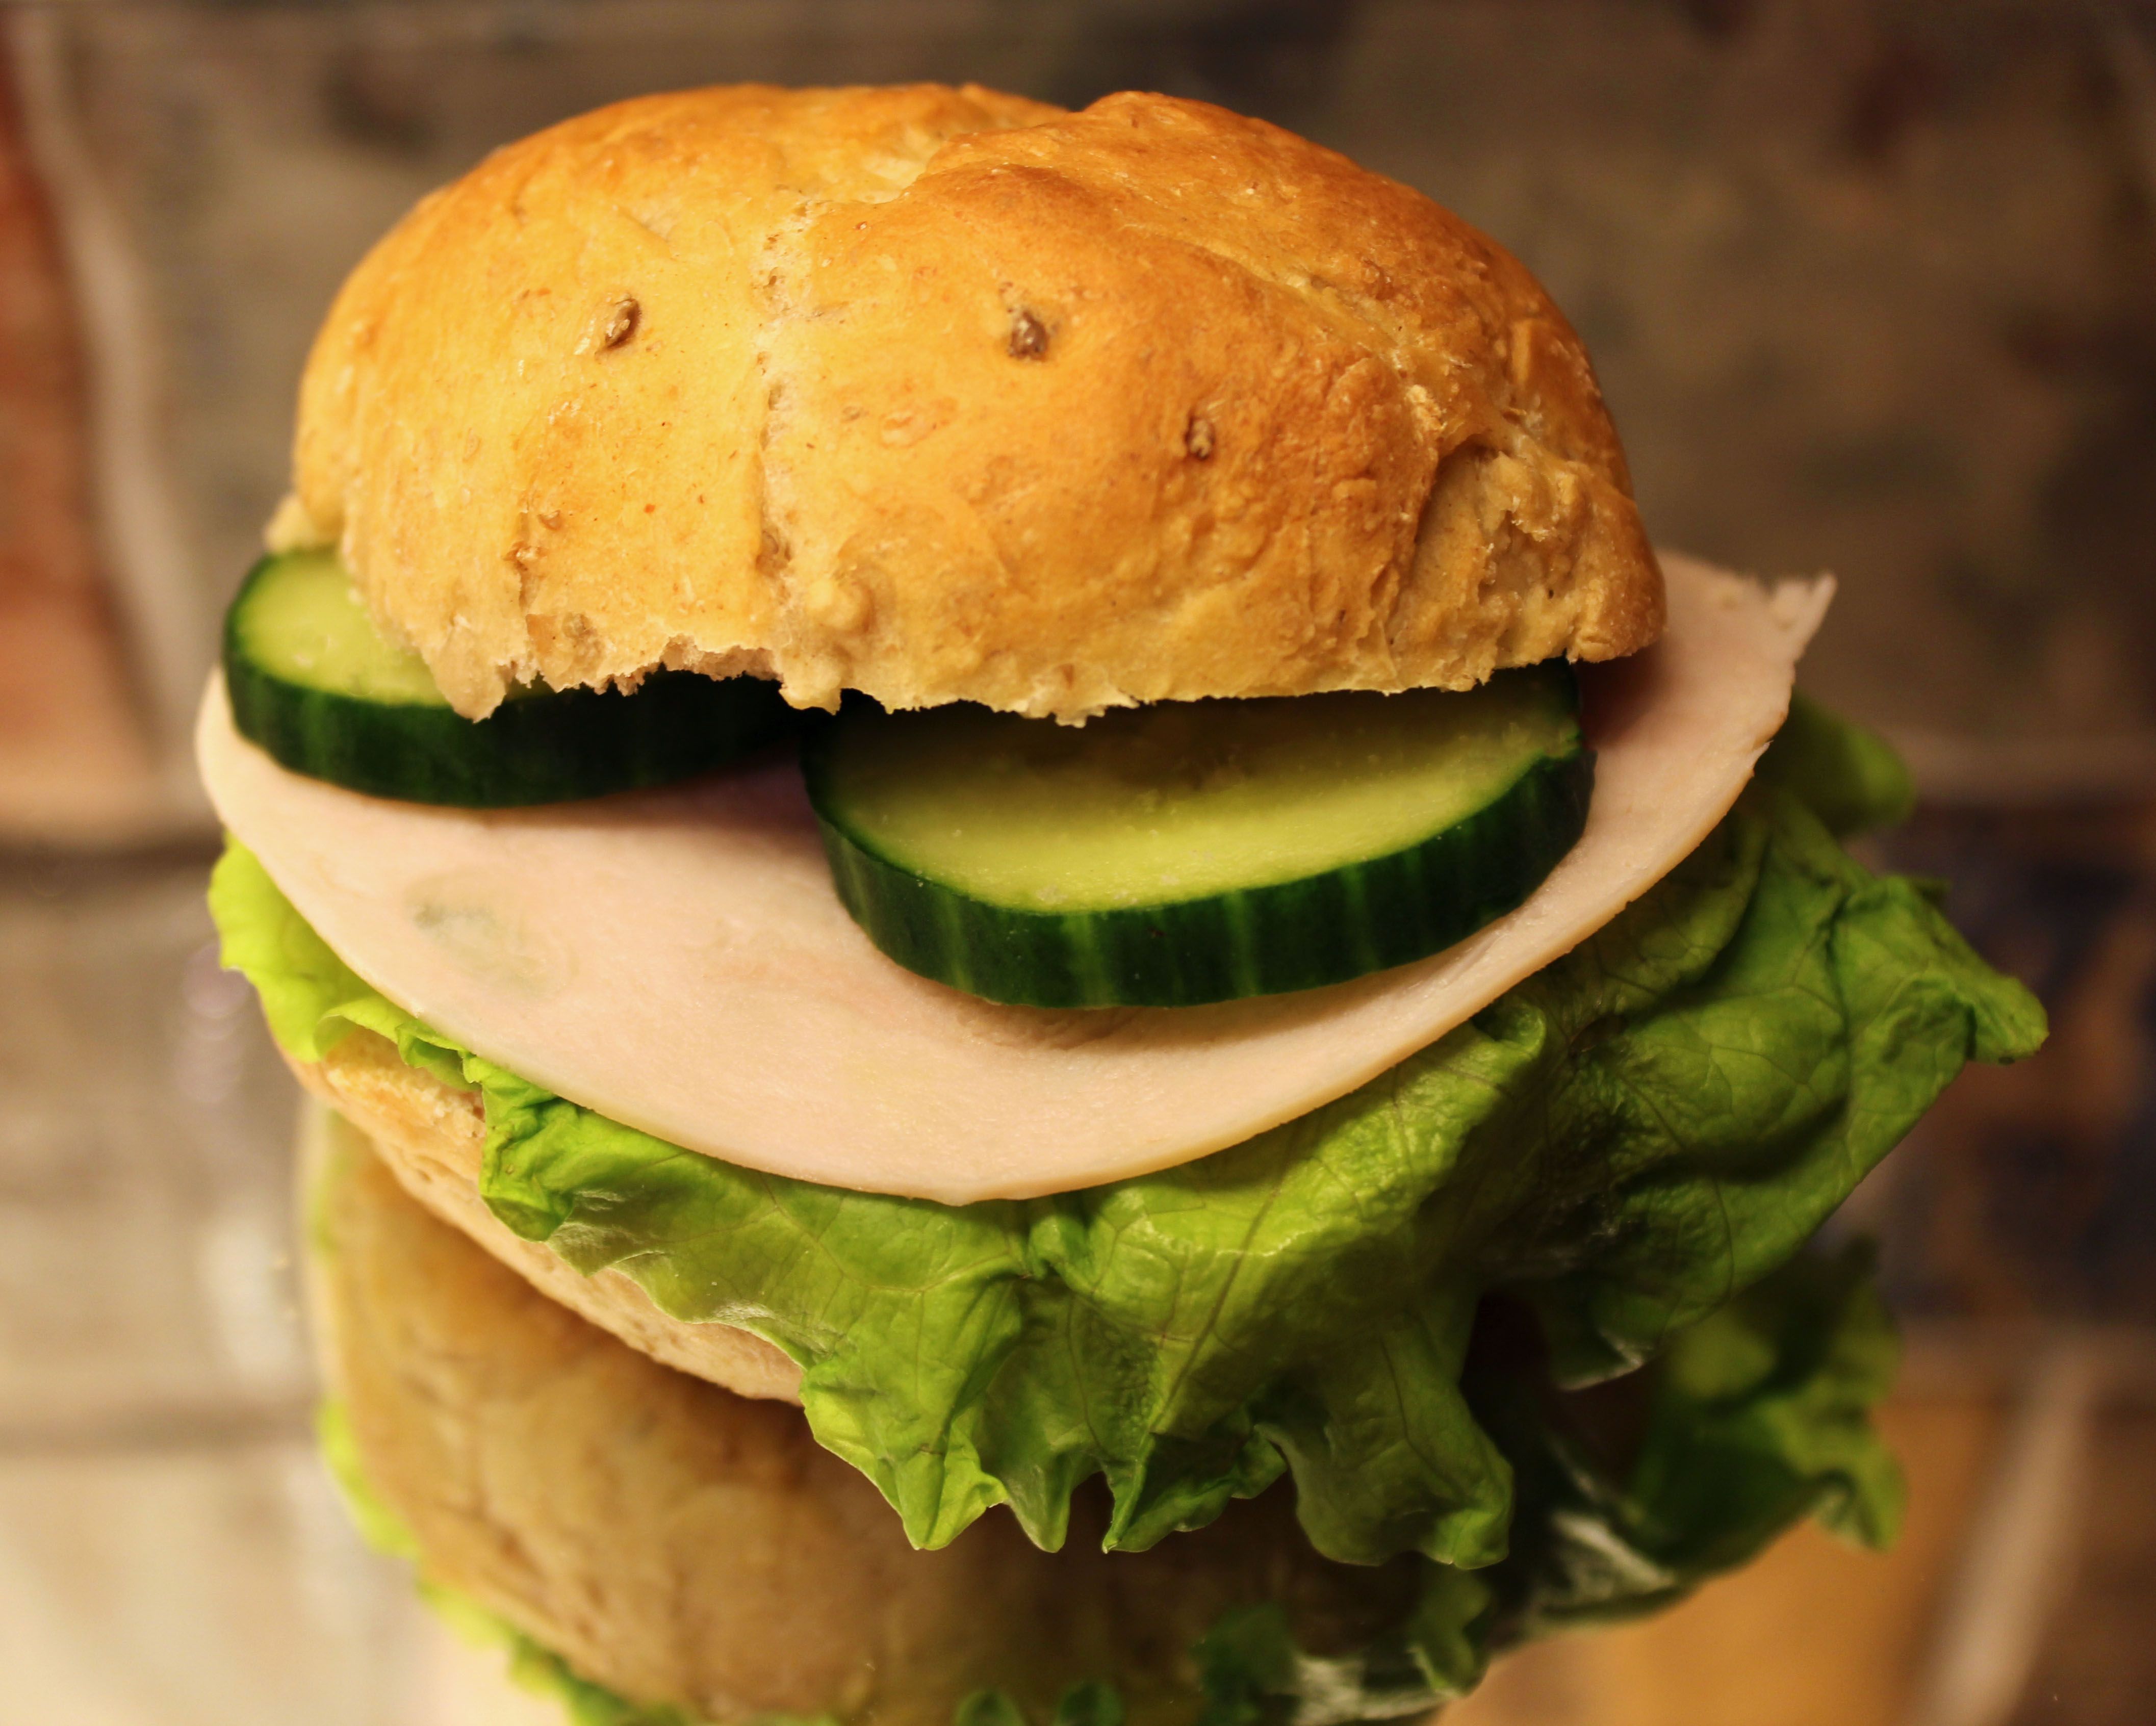
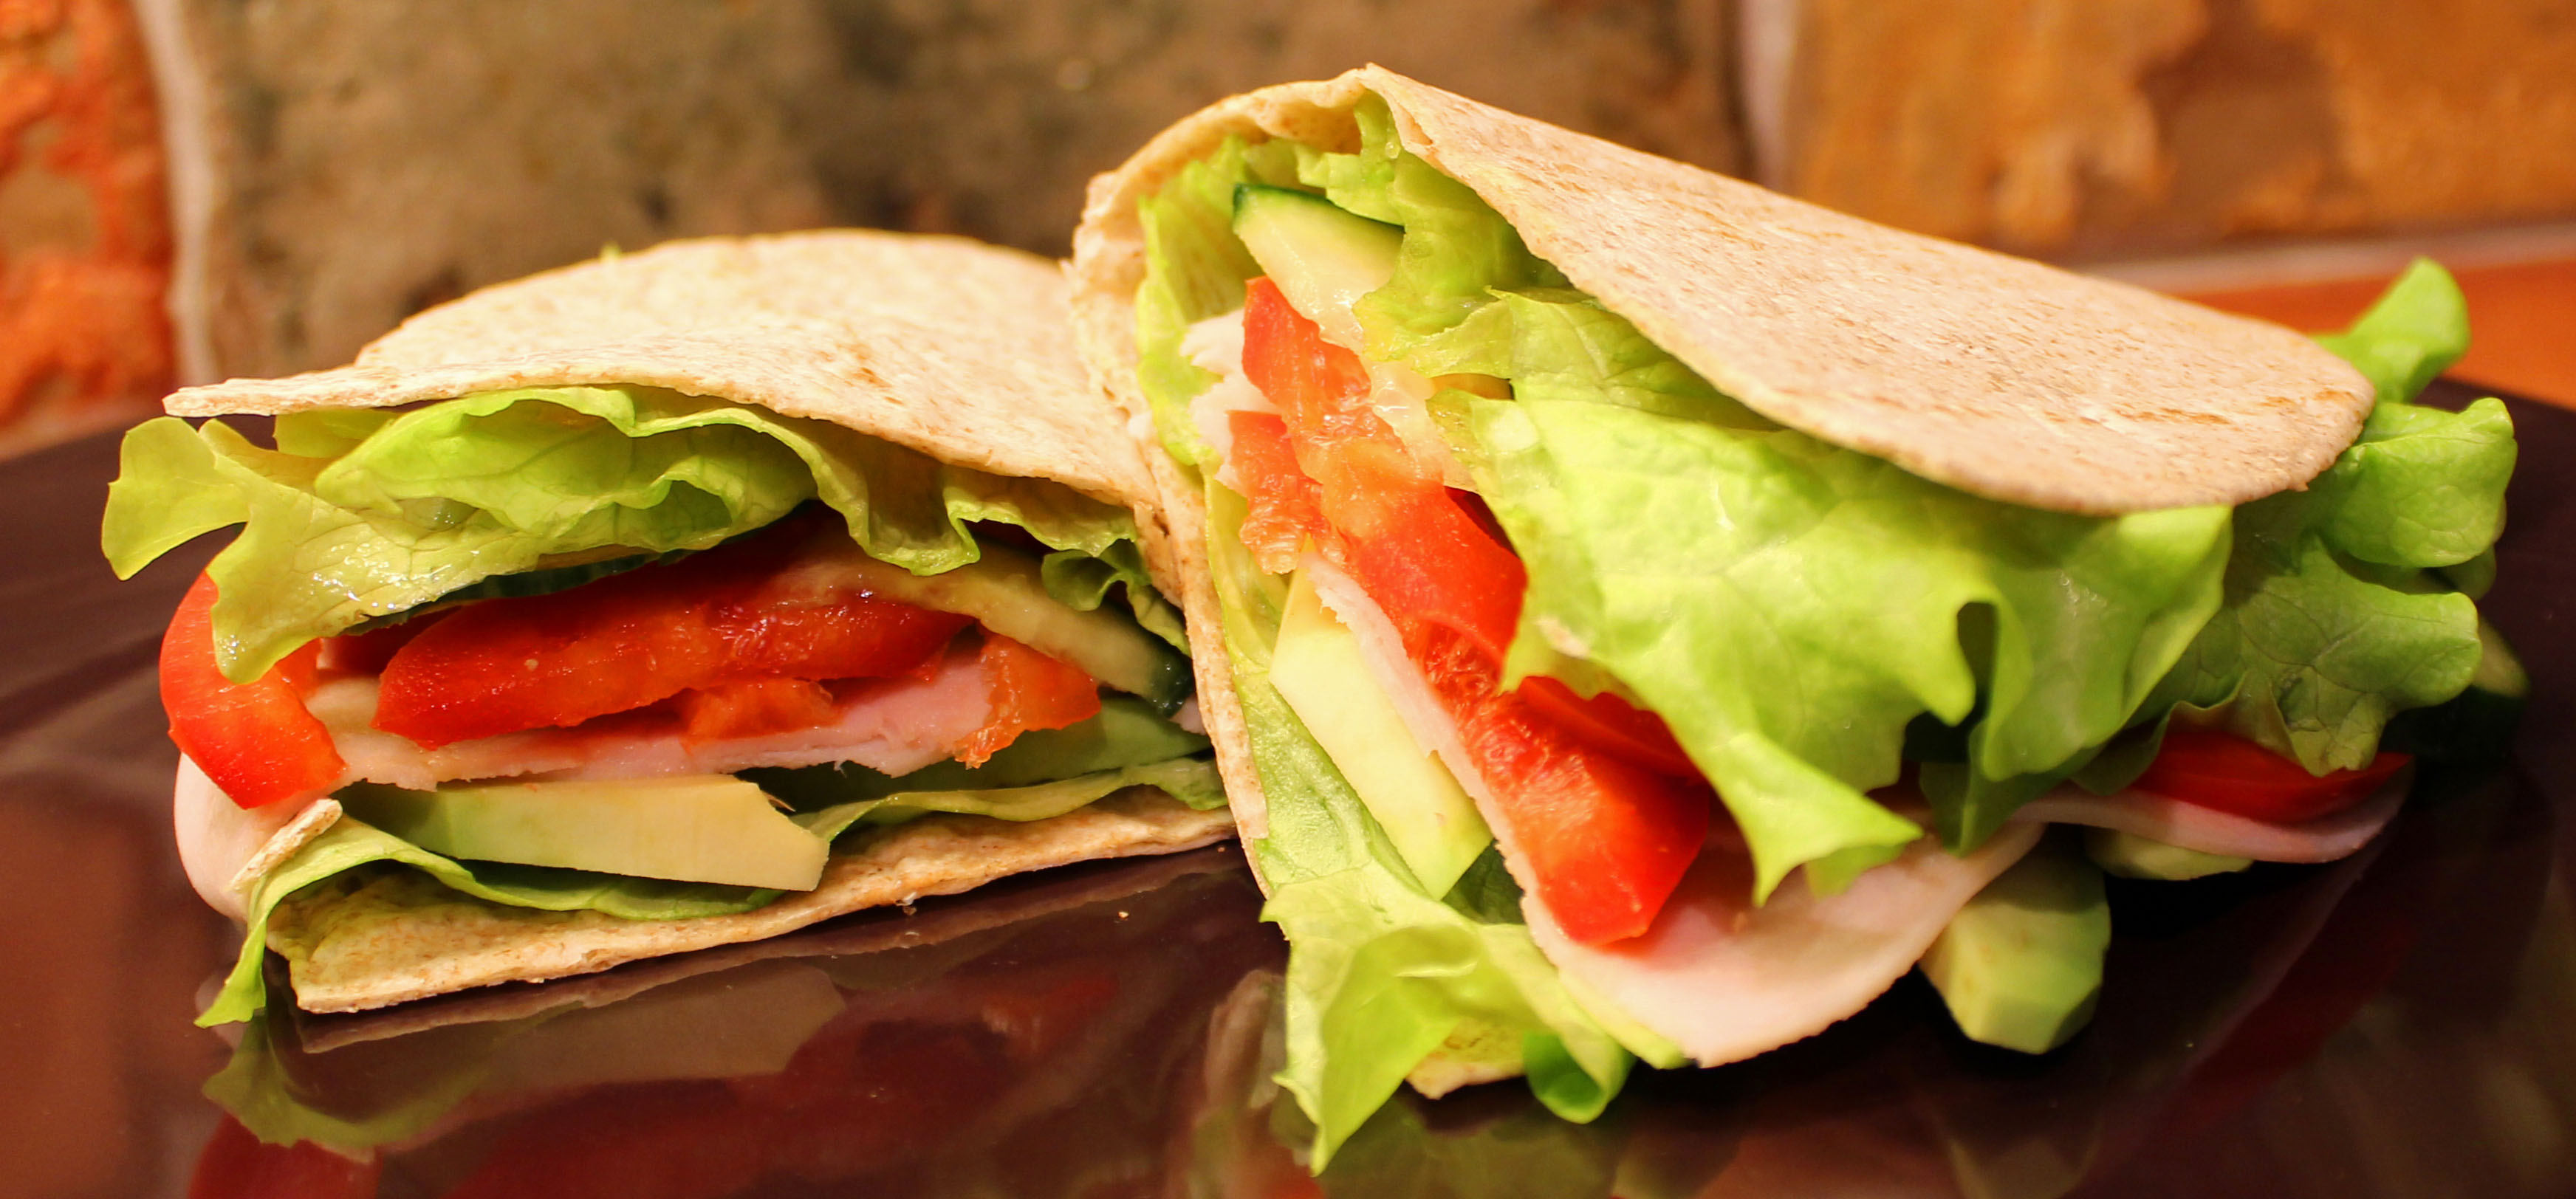
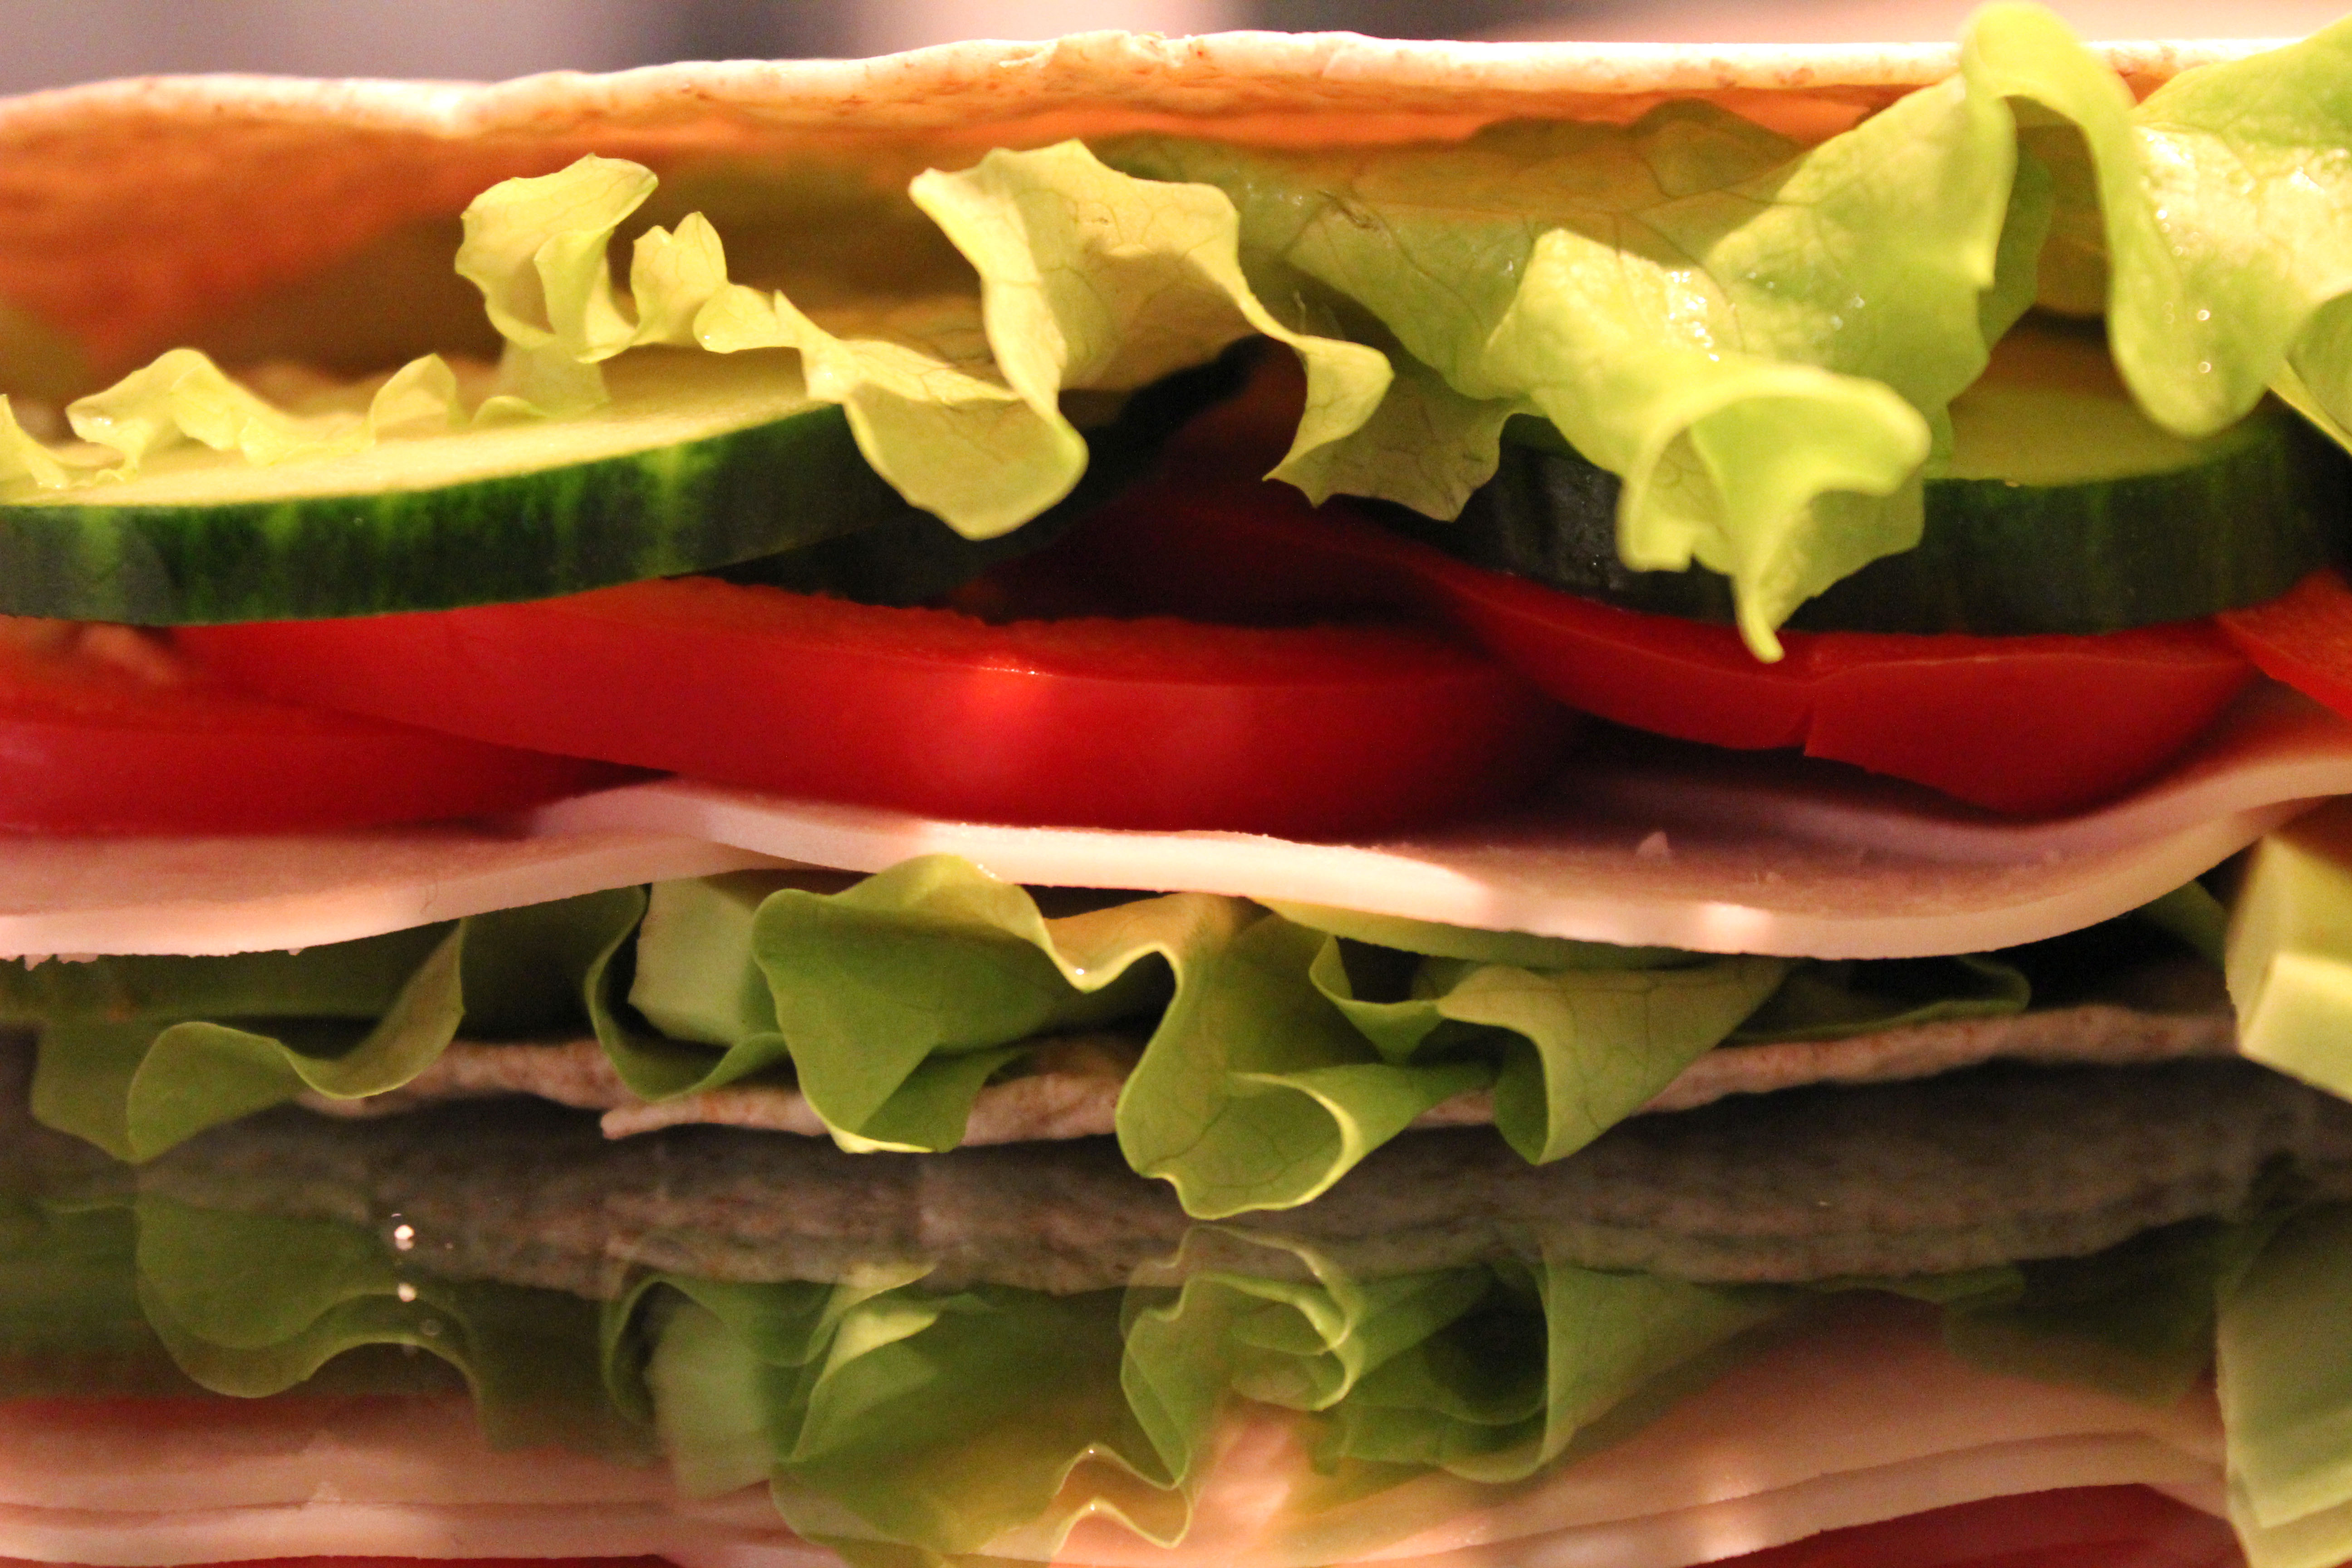
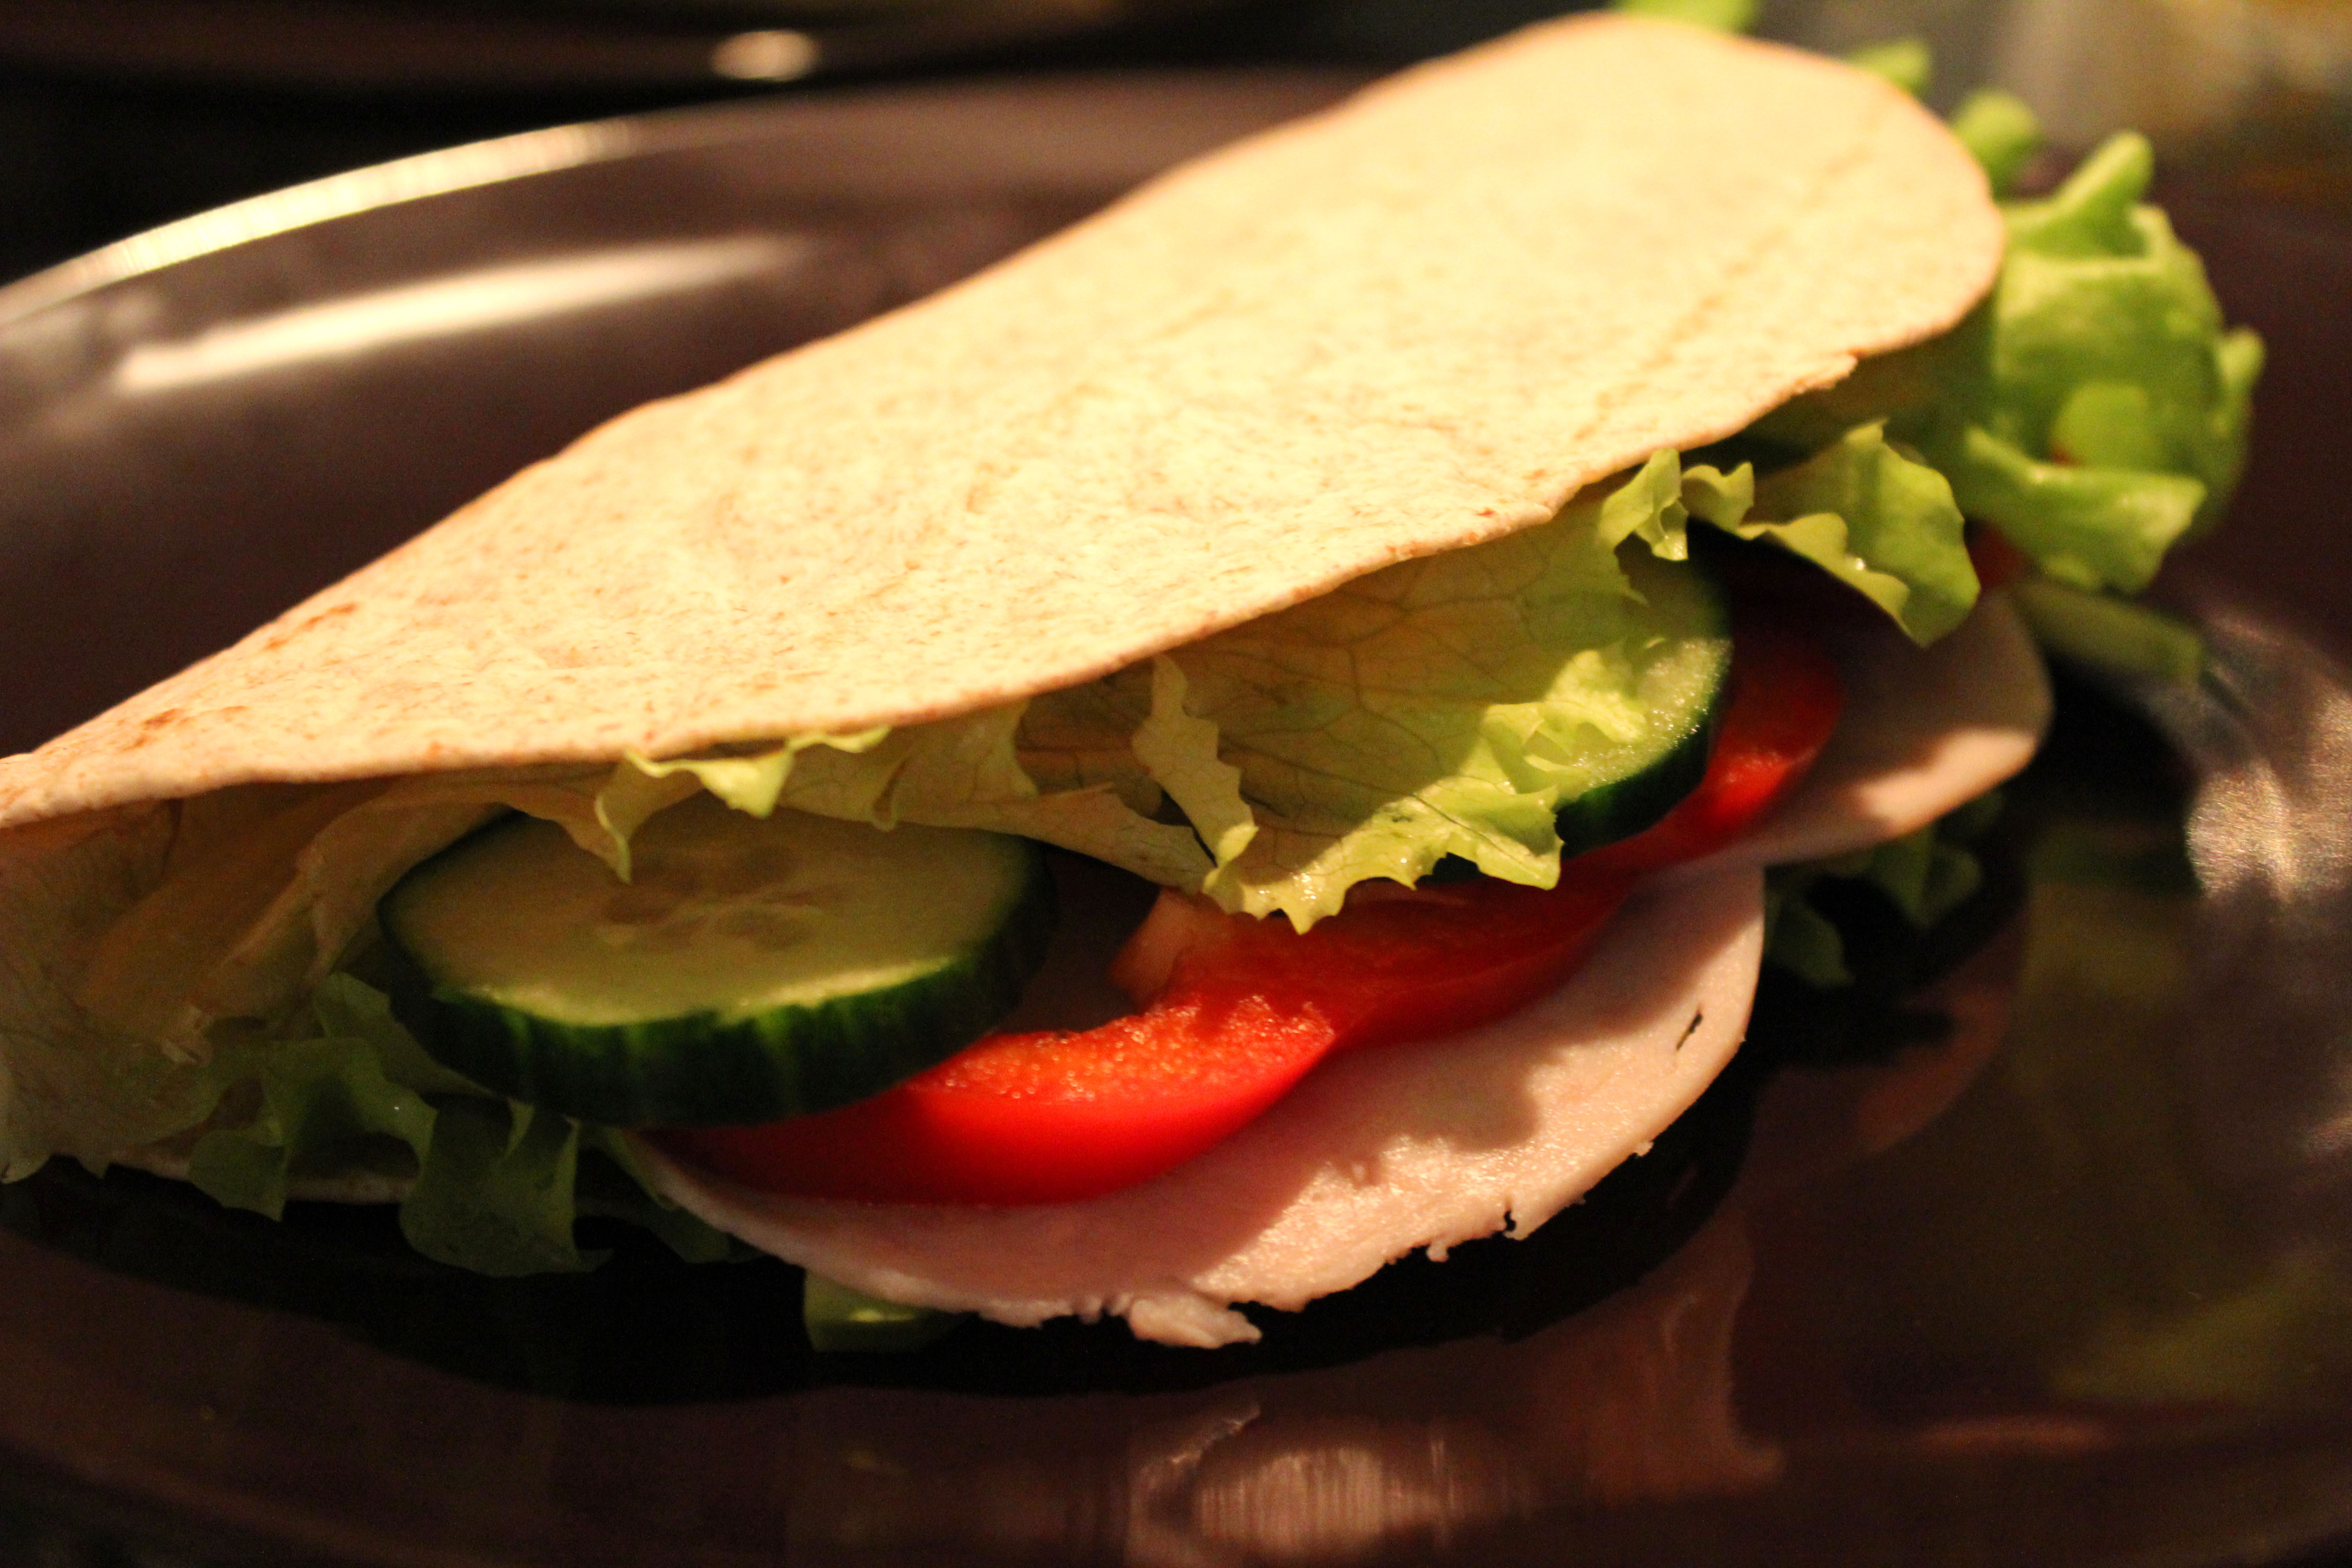
Cucumber, Avocado Turkey Wrap
 Fresh, Easy & Delicious!
For those of you who are in a hurry this is the perfect lunch option! We bring this wrap to work all the time, it’s healthy and keeps you full. You can always change the turkey to chicken, ham, tofu, eggs or whatever you desire that day! You can also add some cheese and heat it up. Just use your imagination You can also prepare this the day before and keep it in a container or zip lock bag in your fridge over night
You’ll need:
- 1 Whole Wheat Tortilla Wrap
- 1 Leaf of Grand Rapids Lettuce
- Bell Pepper (any color)
- Cucumber
- Avocado
- 3 Slices of Lean Turkey fillet (ultra thin slices, the kind you get cold at the supermarket)
- Pepper or Dressing of your choice
1. Wash and chop your vegetables, and dry them with a paper towel, that way your wrap doesn’t become soggy if your bringing it with you for lunch.
2. Get your wrap and place the lettuce leaf on top, then your cucumber, bell peppers and turkey on one half.
3. Season with some pepper or add a little bit of dressing and place the avocado on top. If your bringing the wrap with you, we suggest you take your dressing along in a little container because the dressing causes the wrap to get soggy.
4. Fold the wrap and enjoy!
Tips:
- If you like to have this for dinner, use thicker turkey slices or even a chicken breast 😉
- You can also add some, tomatoes, onions or even some black olives!
Whole Wheat Pita Bread

Healthy, healthy, healthy!
If you’re looking to impress your friends and family try this simple and quick recipe! It only has 4 ingredients! You don’t need any sugar and best of all it’s not processes and it keeps well in the freezer! They can also be reheated at 350 F (177 C)
Because of the whole wheat they wont rise as much as with all purpose flour so if you like them to be fluffier add half and half.
Recipe:
- 4 Cups Whole Wheat flour (or 2 cups whole wheat + 2 cups self rising/all purpose flour)
- 1 1/4 Cups warm water (120F/50C)
- 1 Tbsp dry Yeast
- 1/2 tsp salt
Prep:
- Preheat your oven to 500F (260C). Very important that this is the first thing you do, the pita breads need the instant heat to puff.
- In your stand mixer sift together 2 cups of the flour and the dry yeast.
- Add the water and salt and mix well.
- Gradually pour the remainder of the flour and mix well until the dough doesn’t stick to the sides. (note that you might not need to add all of the flour, it is ready when it cleans from the bowl)
- Let the mixer kneed the dough until it’s smooth, about 3-5 minutes depending on your mixer.
- Form the dough into 8 balls and on roll each ball into 4-5 inch (10-12 cm) circles and about 1,5 inch (0.5 cm) thick.
-
Place on a baking sheet lined with parchment paper and allow to rise for 30 minutes, under a tea towel.
- Before you place the pan in the oven flip them carefully over, this is what makes them puff.
- Bake at the bottom rack for 5 minutes.
- When the pita breads come out of the oven they will be hard but will soften as they cool. You can put them in a bag or airtight container straight from the oven, this will also help them soften.

Serve:
Choose your favorite filling and enjoy! We chose to use our delicious spicy falafel! Click on the picture for the recipe

Enjoy!